|
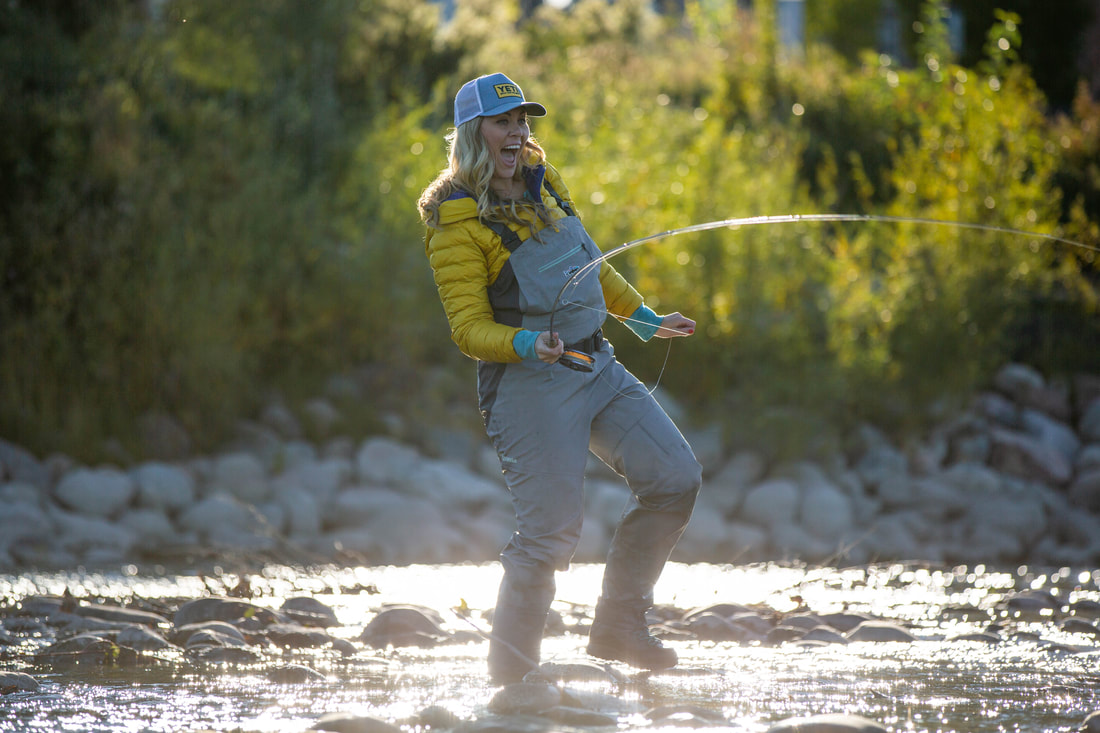
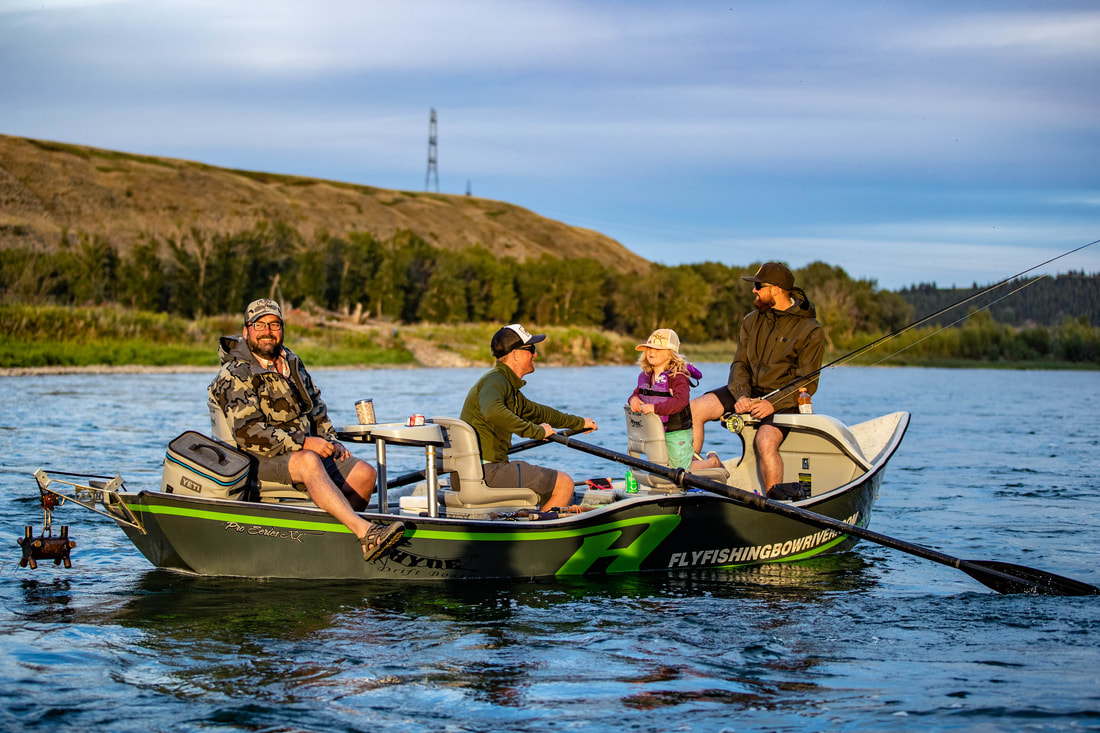
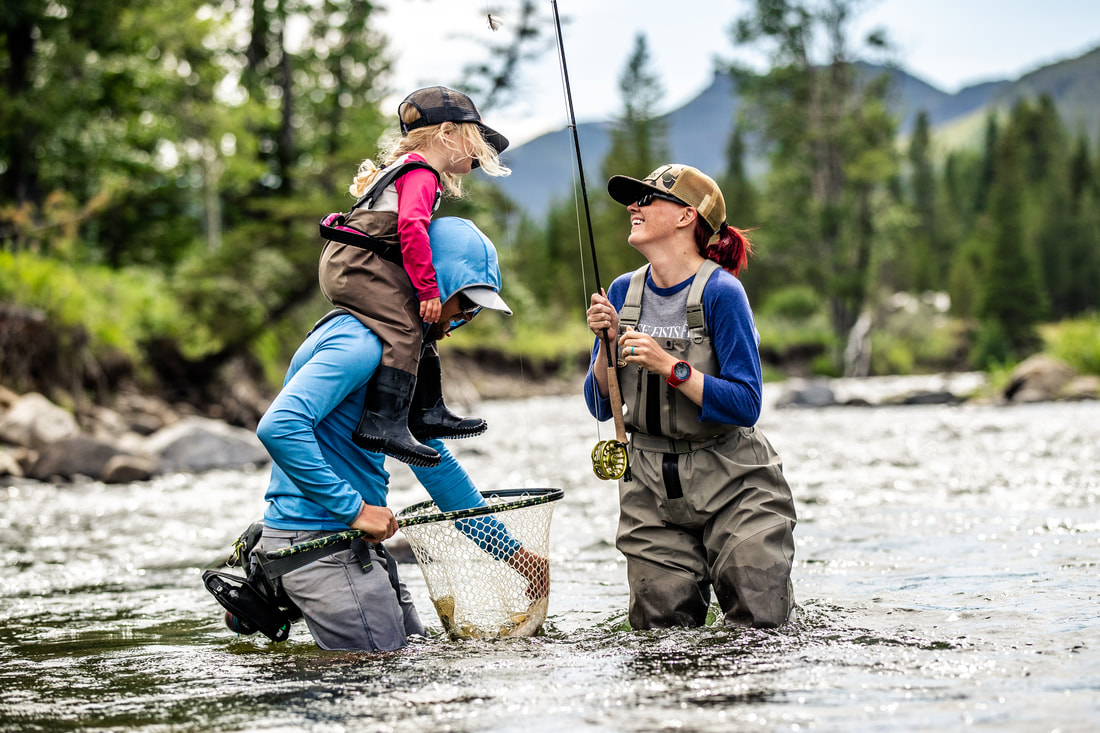
Fly fishing has been a beloved pastime for centuries, with its origins dating back to ancient times. Today, it remains a popular activity for people all over the world, and for good reason. Not only is fly fishing a great way to connect with nature and enjoy the great outdoors, but it has also been found to be an important tool for maintaining mental health and well-being. One of the reasons fly fishing is so important for mental health is the sense of peace and tranquility that comes with being out on the river. The gentle sound of flowing water and the beauty of the natural environment can help to soothe the mind and reduce stress and anxiety. In fact, studies have shown that spending time in nature can have a positive effect on mental health, reducing symptoms of depression and anxiety and improving overall well-being. Additionally, the rhythmic motion of casting a fly rod can be meditative and calming, providing a sense of focus and mindfulness that can help to quiet the mind and reduce stress. The repetitive nature of casting can also be therapeutic, allowing the body to relax and release tension. Another important aspect of fly fishing for mental health is the connection that people can feel with the natural world. Fish are wild and unpredictable creatures, and the challenge of catching them can provide a sense of accomplishment and satisfaction that is difficult to replicate in other activities. The thrill of the chase and the rush of adrenaline that comes with hooking a fish can provide a sense of excitement and joy that can help to boost mood and improve overall mental health. Perhaps most importantly, fish are non-judgmental creatures. They do not care about a person's past experiences, failures or successes, social status, or anything else that humans often worry about. In the eyes of a fish, all that matters is the skill and patience of the angler trying to catch them. This can be a powerful reminder that we are all part of a larger, interconnected world, and that our worries and concerns are often small in comparison. Fly fishing can also provide a sense of community and connection with others. Many people find that fly fishing is a social activity, whether it's fishing with family or friends, or joining a local fishing club. Being part of a group of like-minded individuals who share a love of the outdoors and the sport of fly fishing can be a powerful way to connect with others and build relationships. Fly fishing can be an important tool for maintaining mental health and well-being. Whether it's the sense of peace and tranquility that comes with being out on the river, the meditative rhythm of casting a fly rod, the connection with the natural world and wild fish, or the sense of community and connection with others, there are many reasons why fly fishing can be so beneficial for mental health. So next time you're feeling stressed or anxious, consider heading out to the river with a fly rod in hand – you just might find that the simple act of casting a line can do wonders for your mental health and well-being.
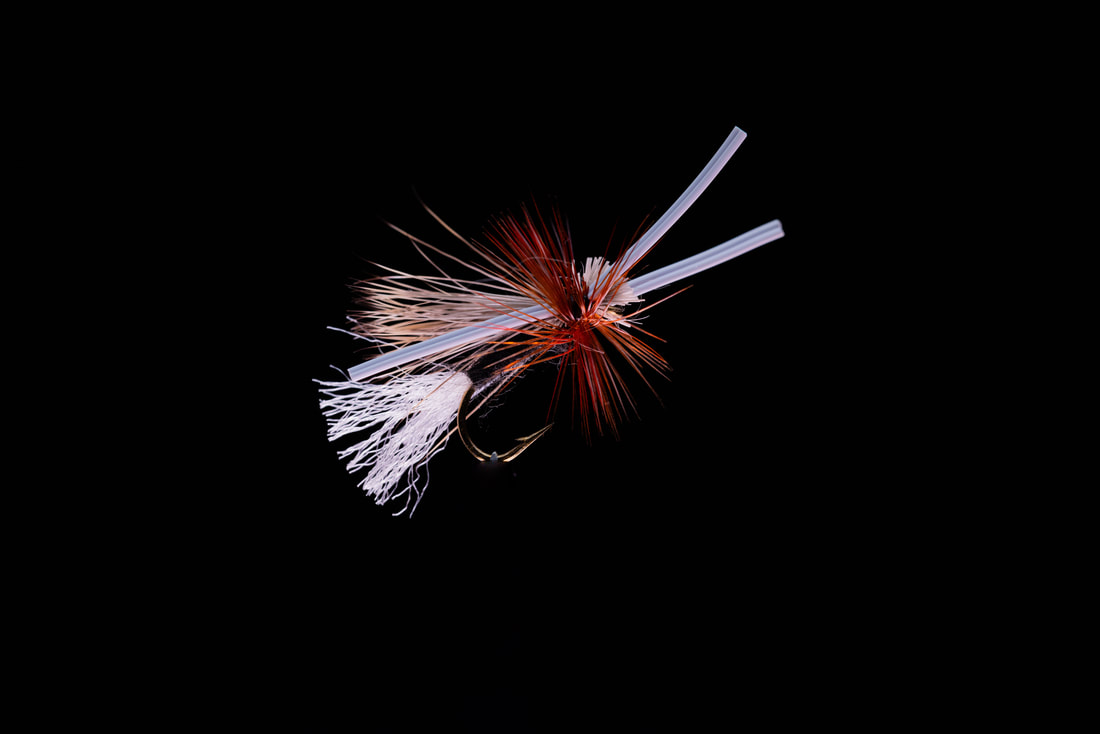
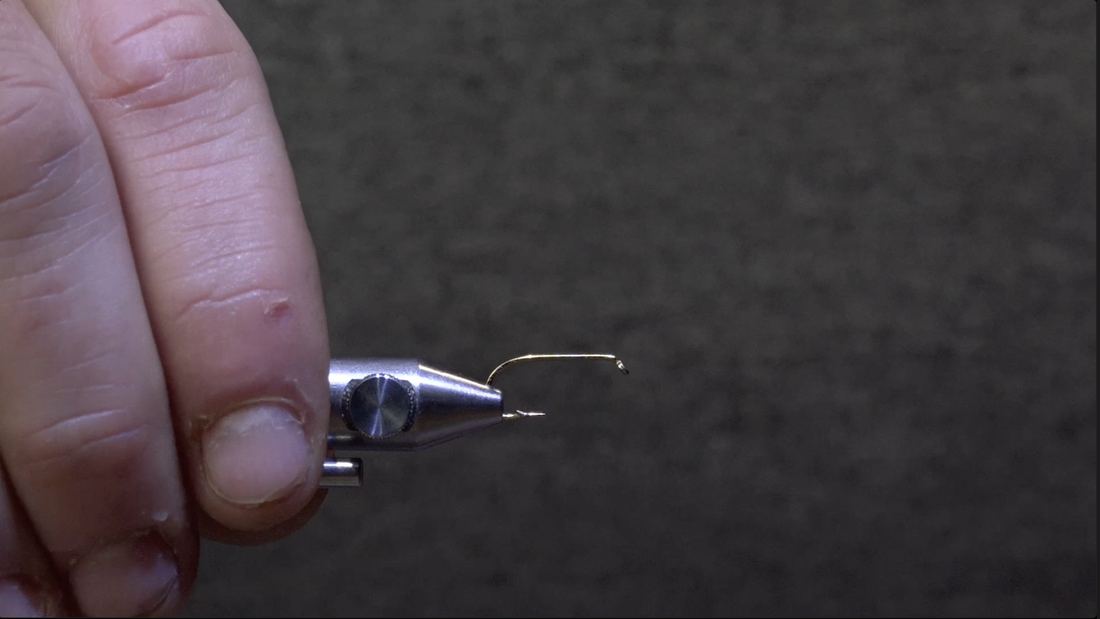
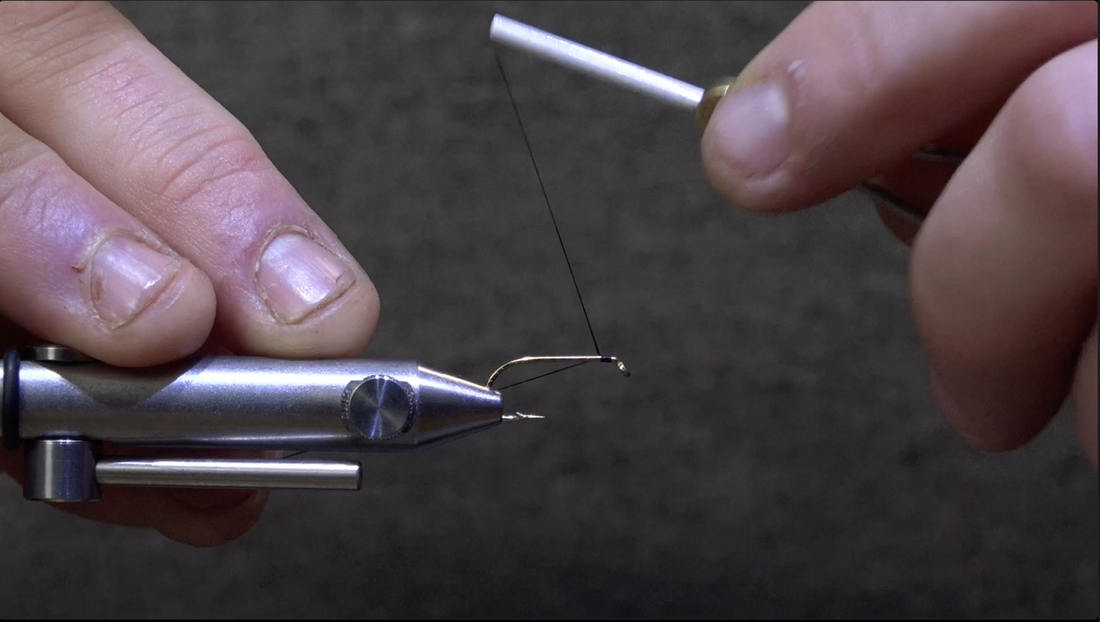
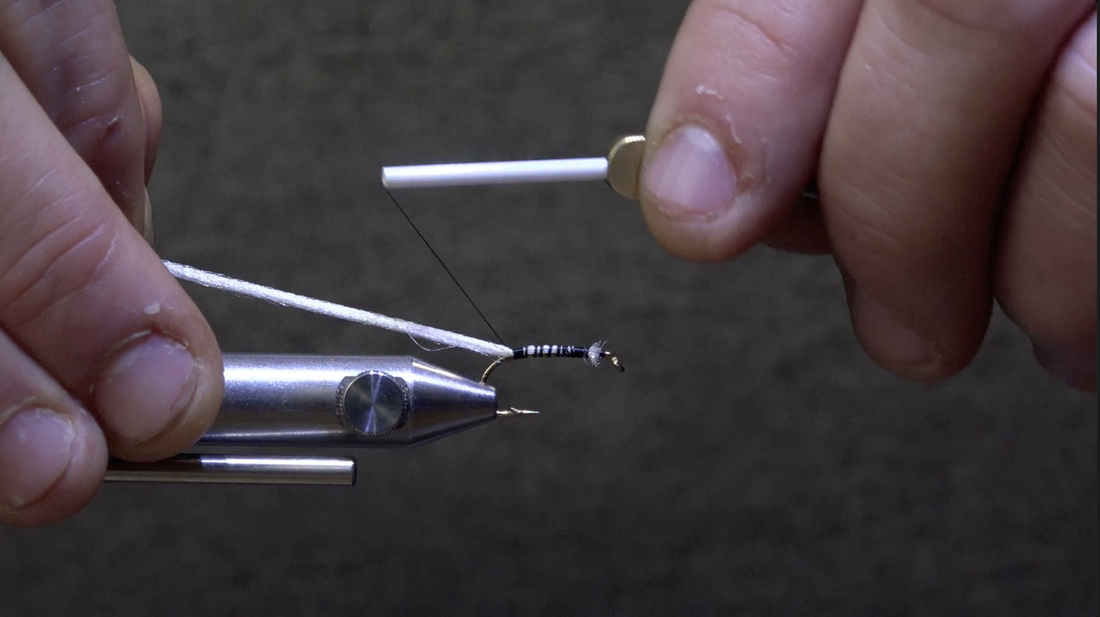
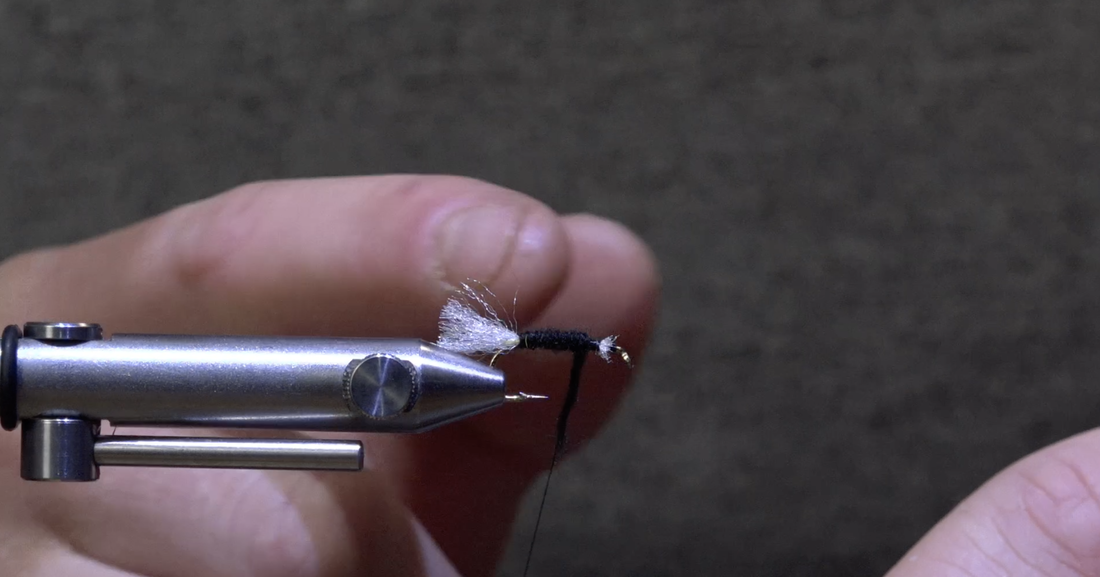
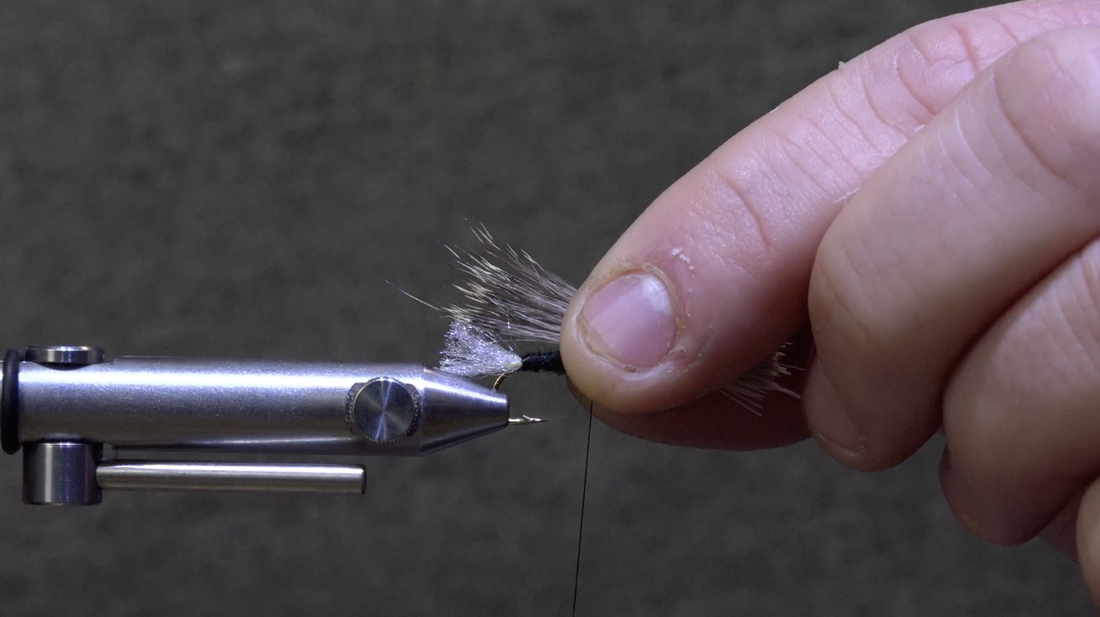
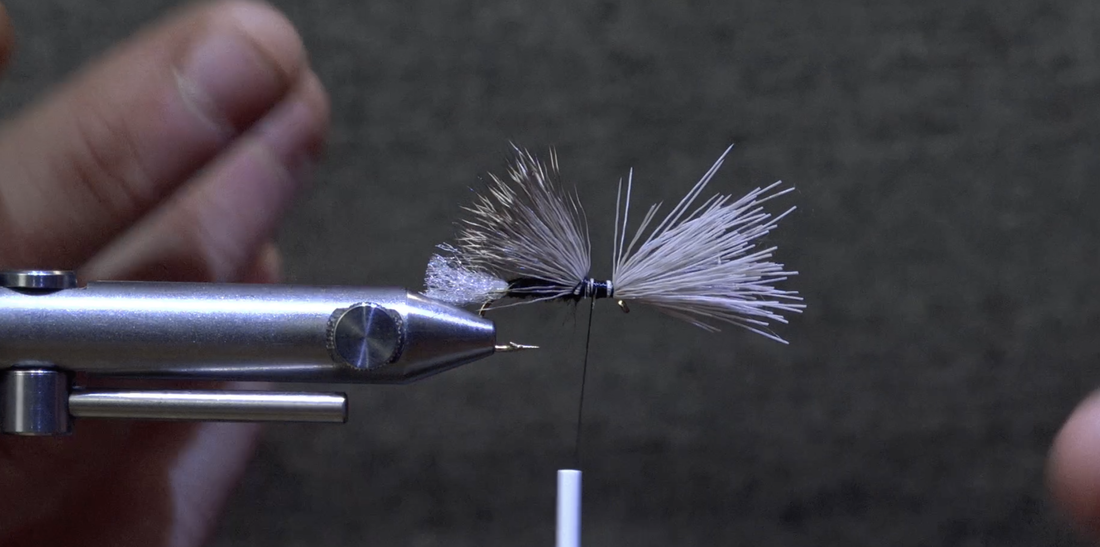
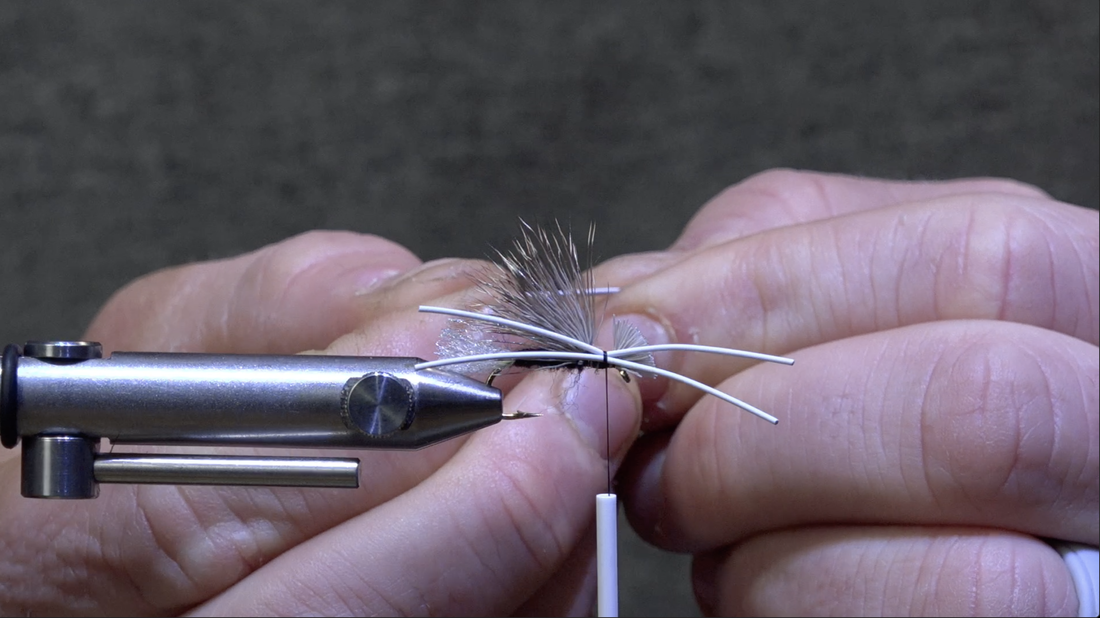
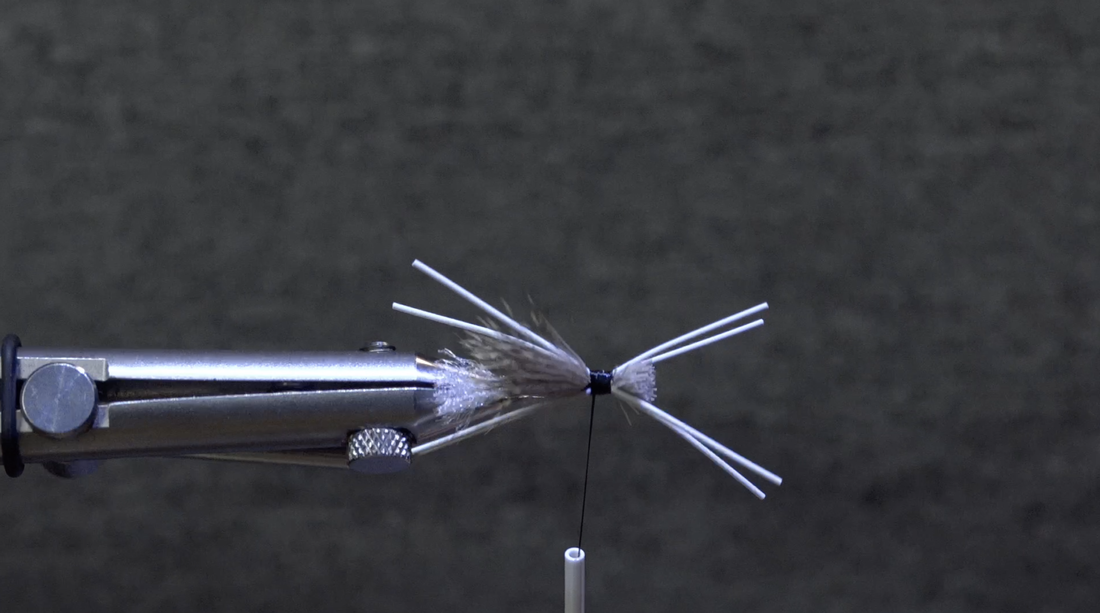
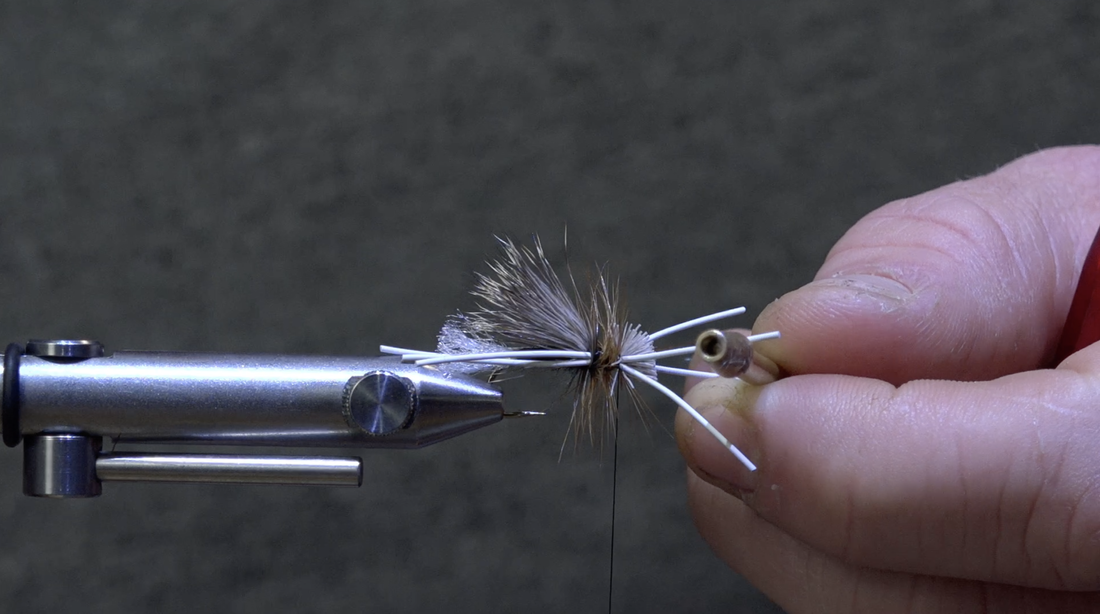
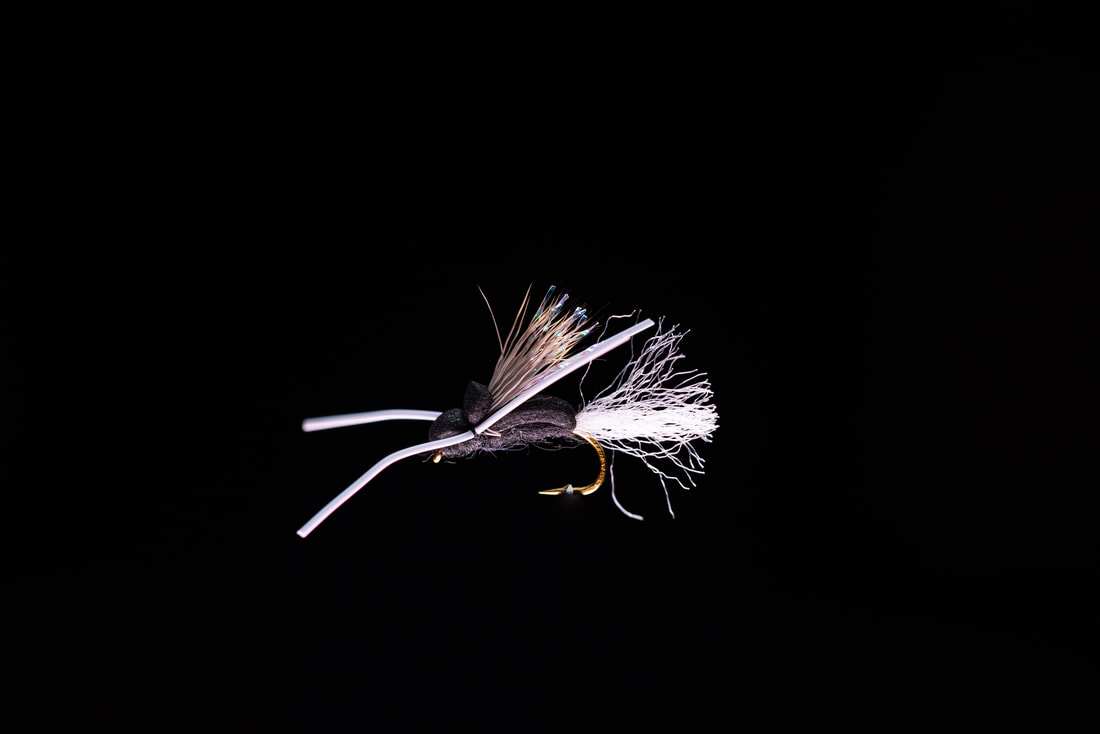
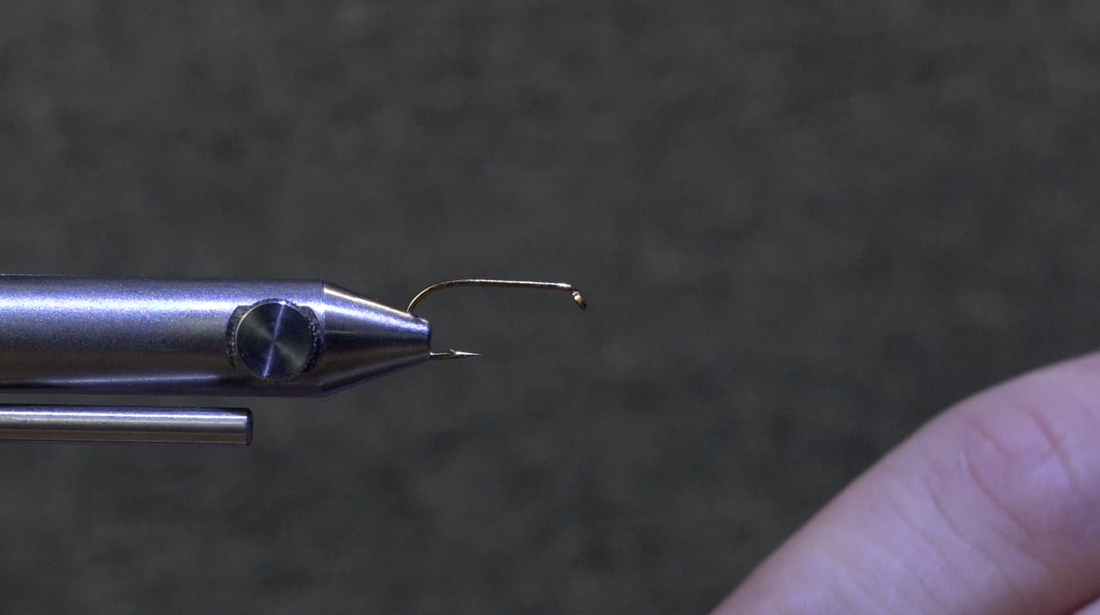
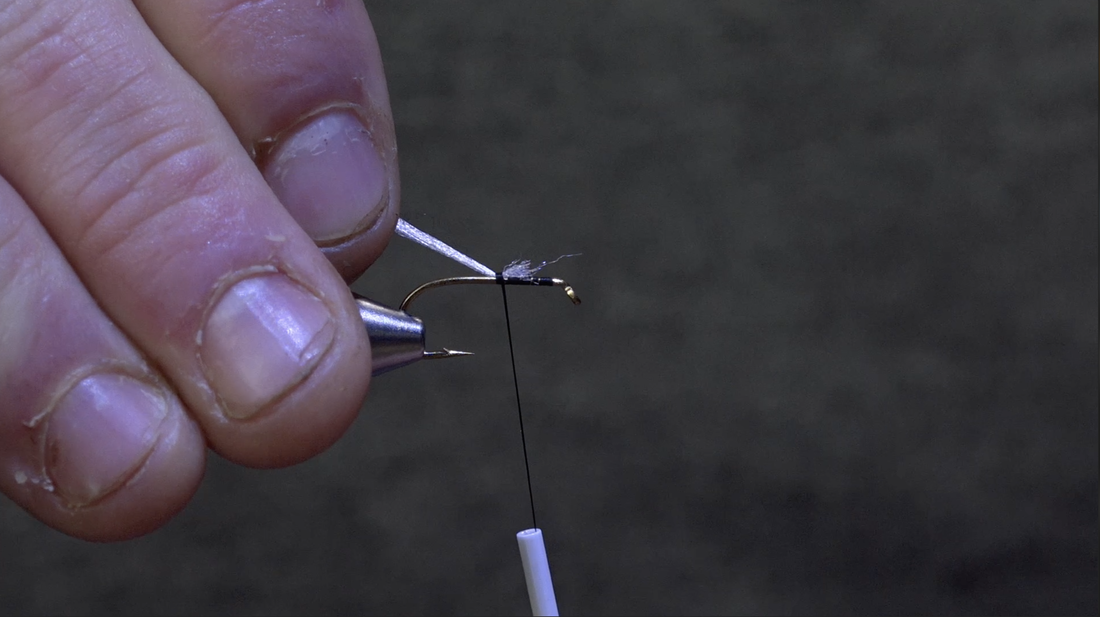
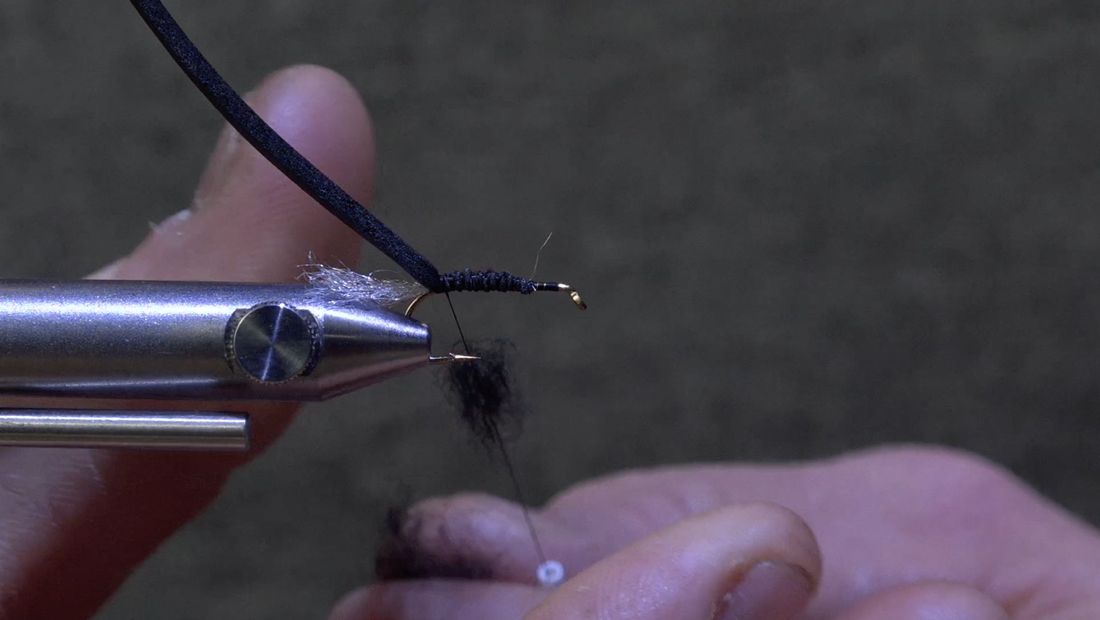
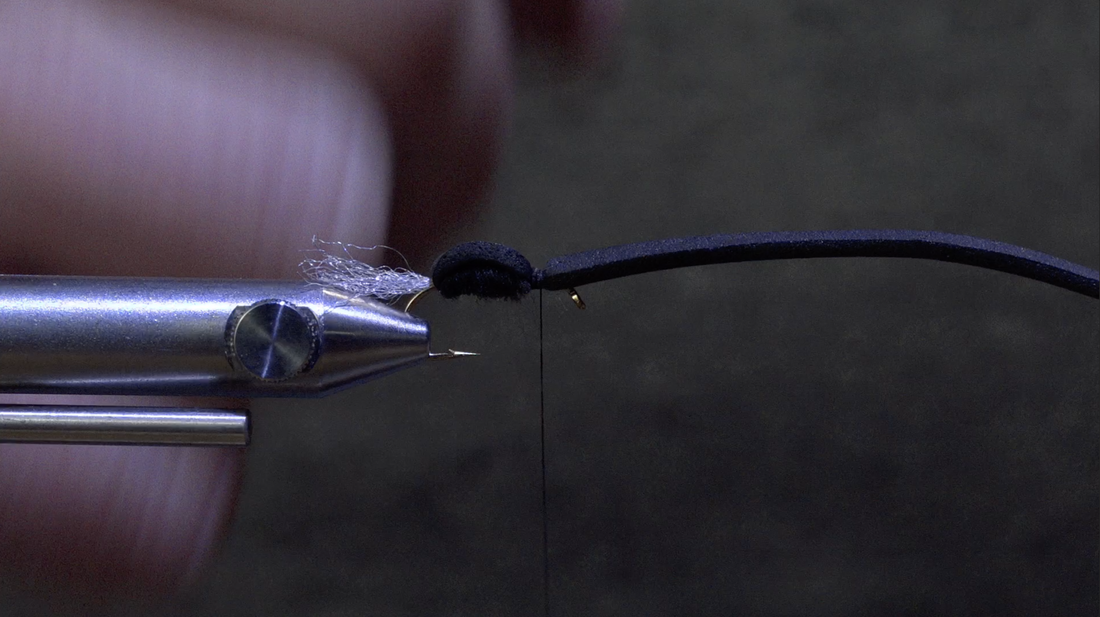
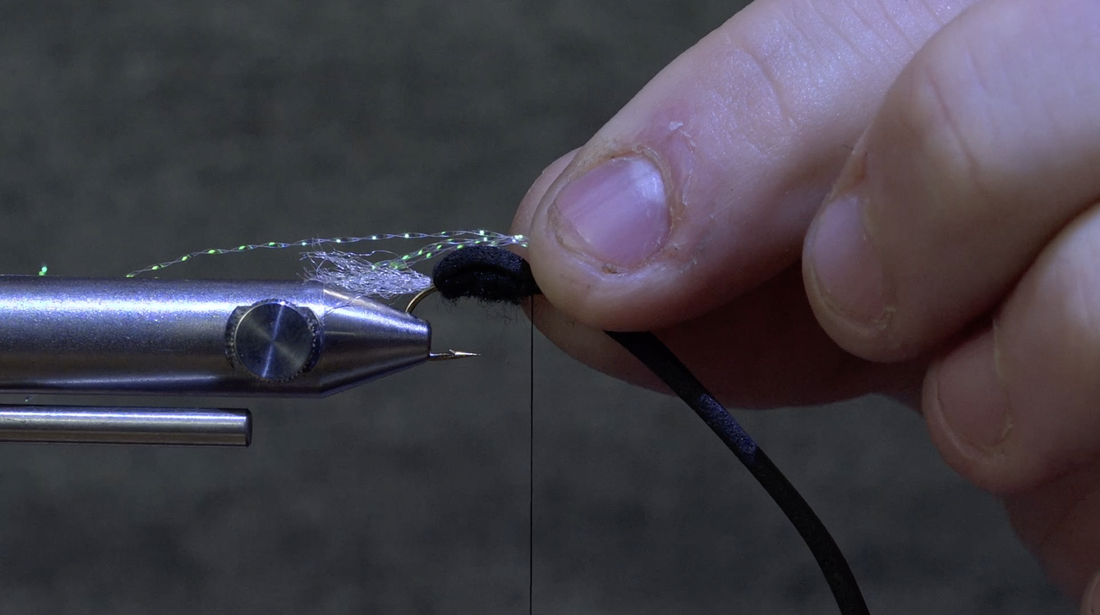
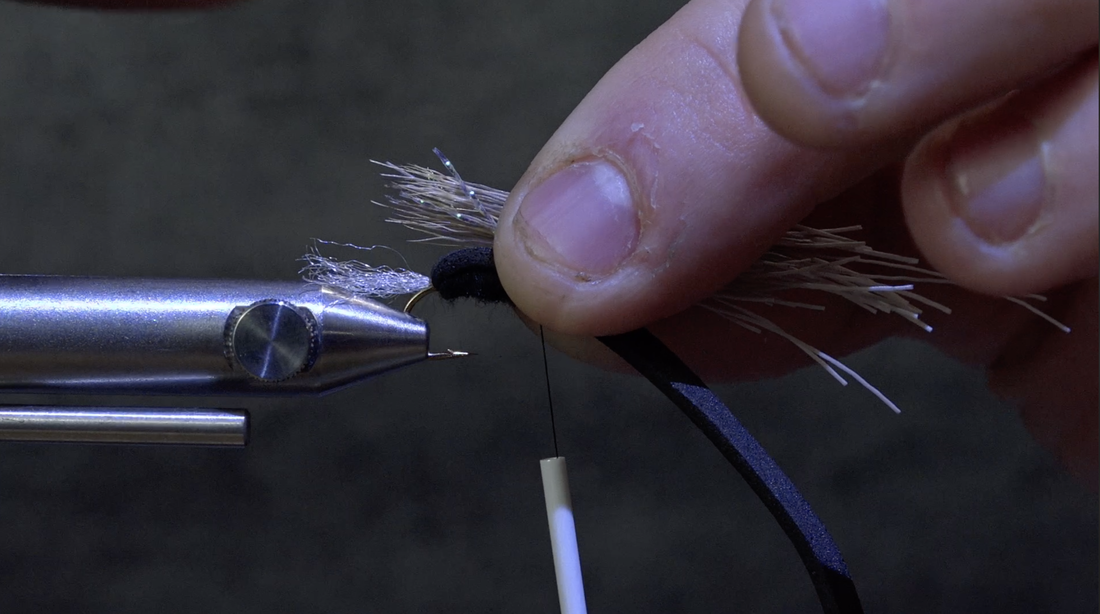
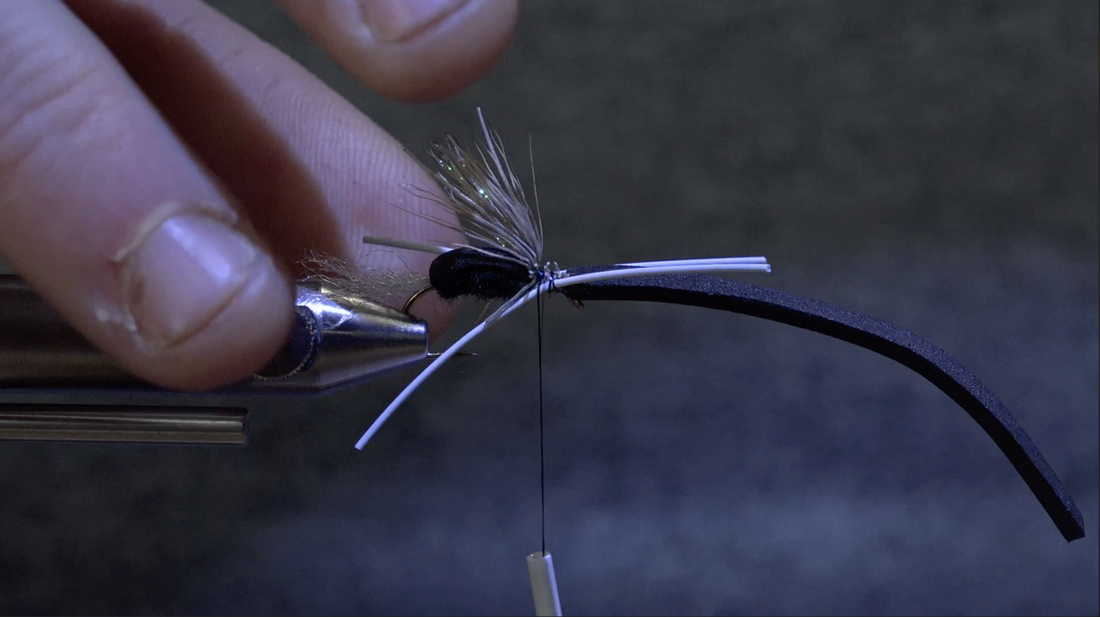
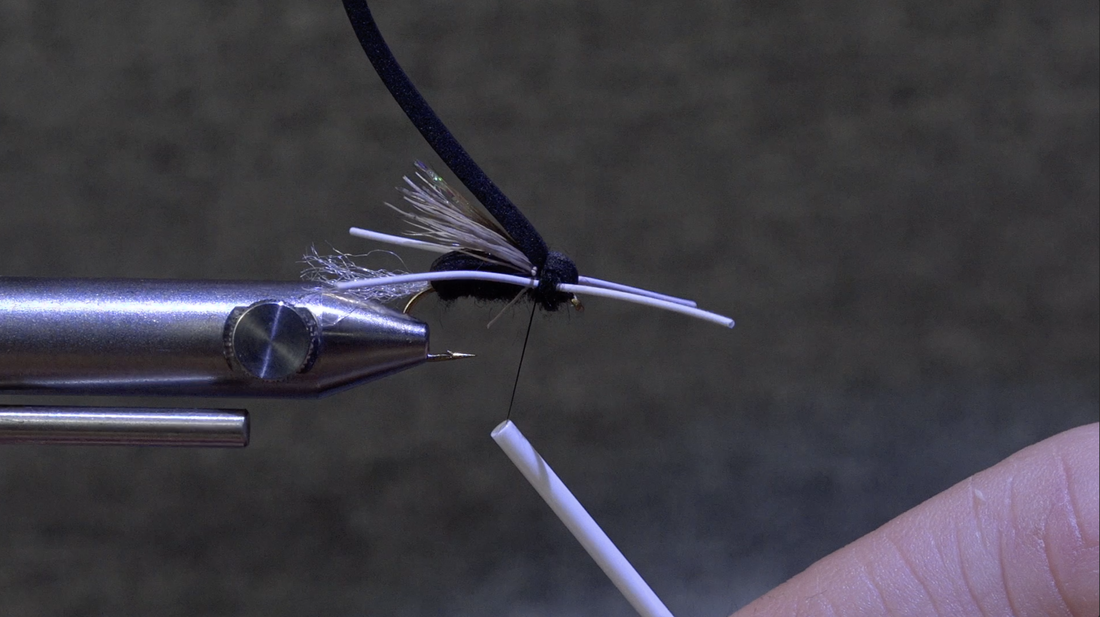
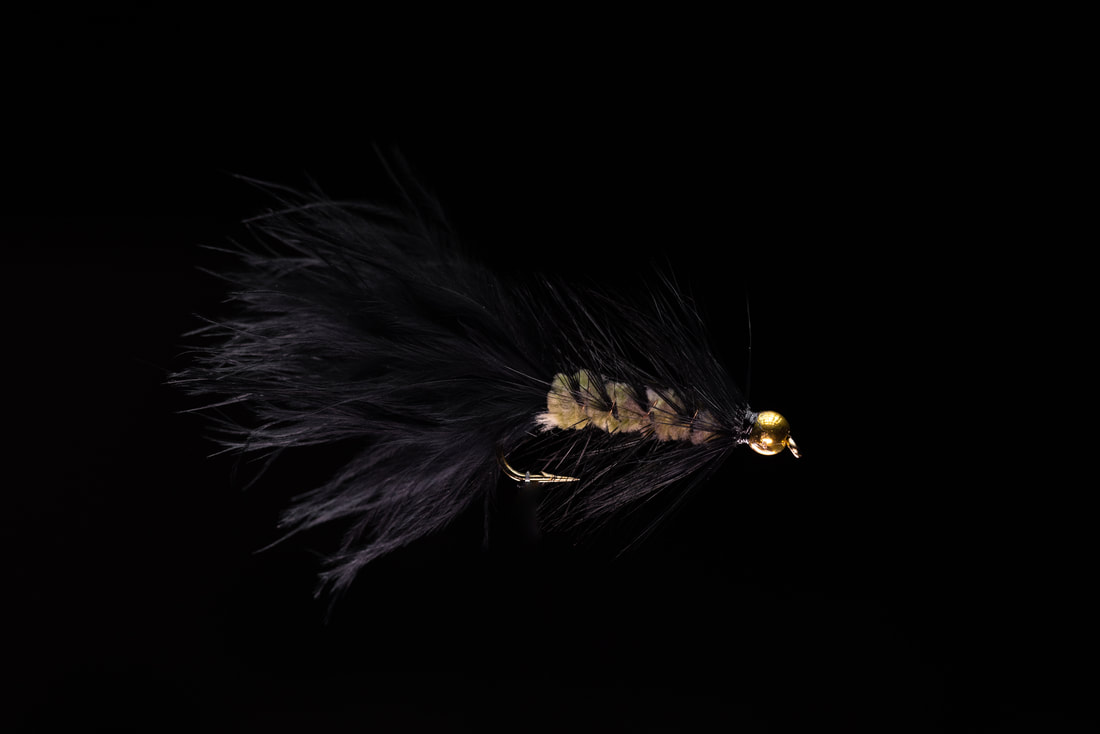
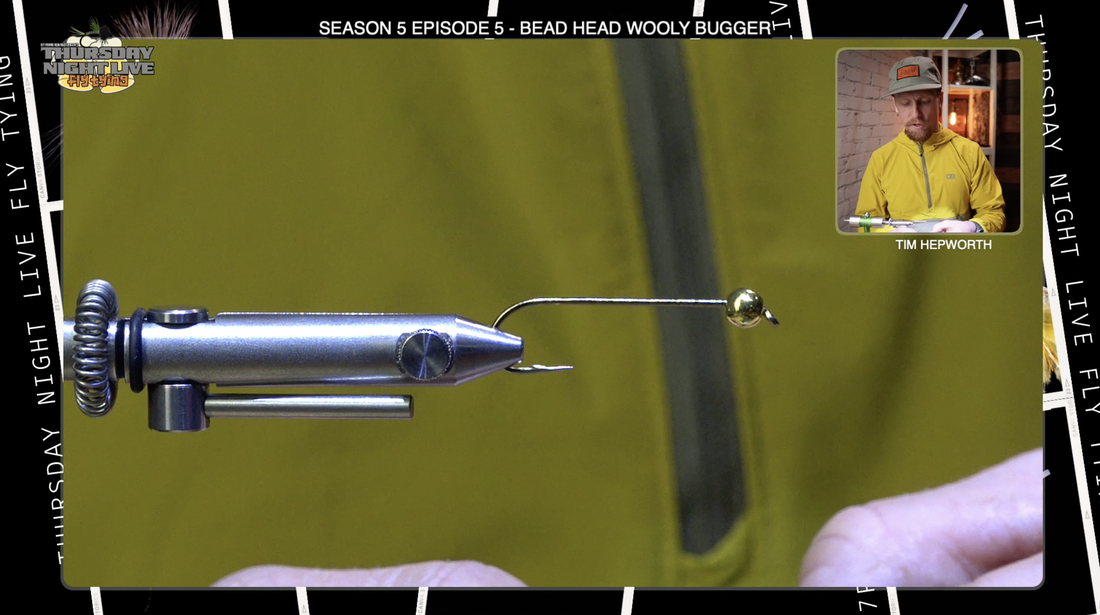
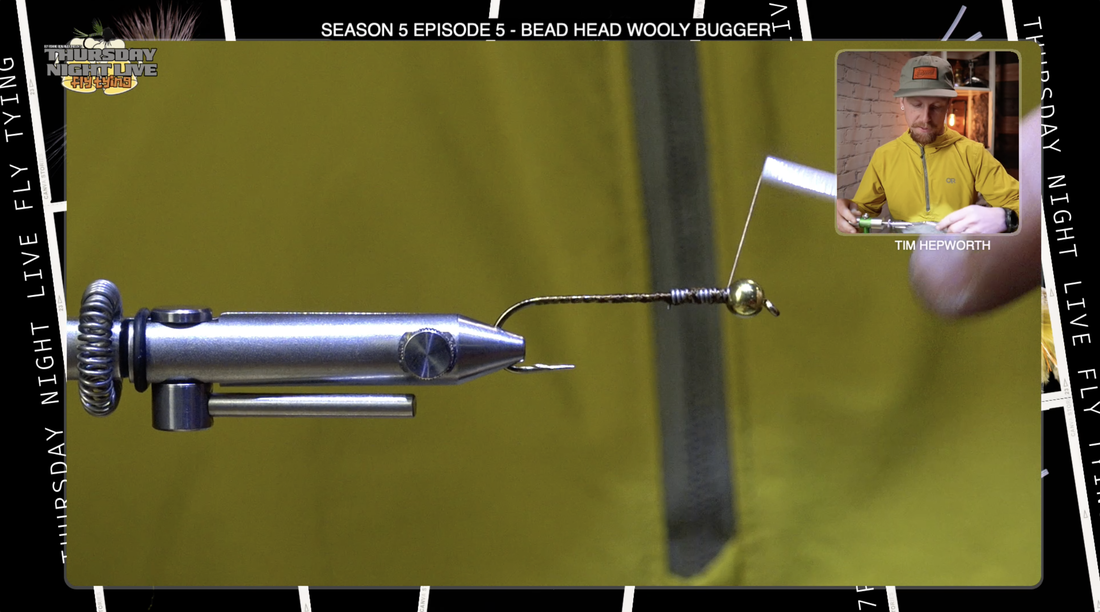
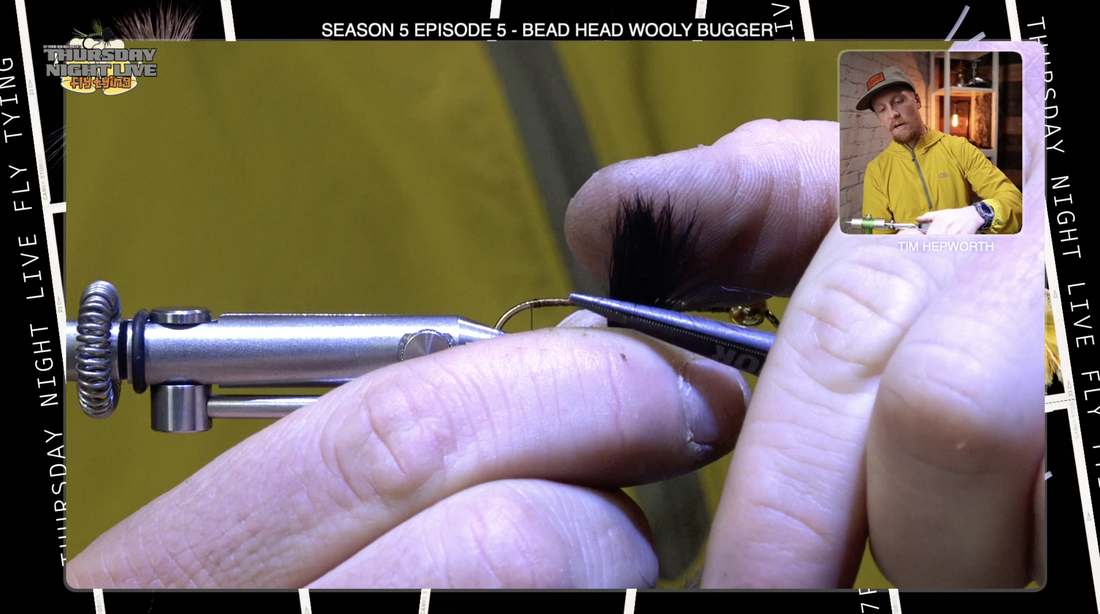
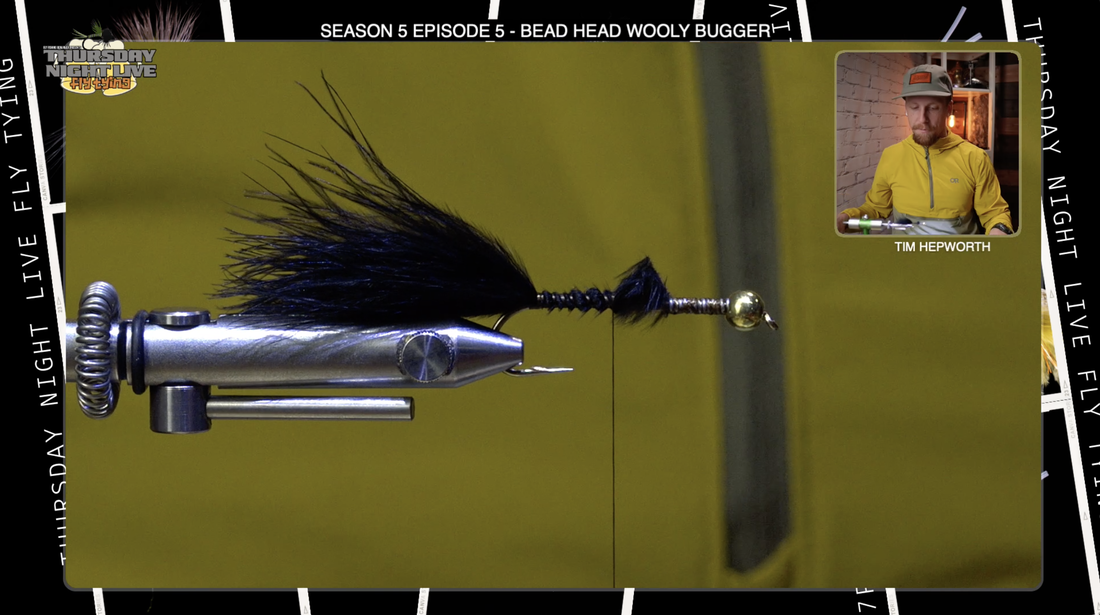
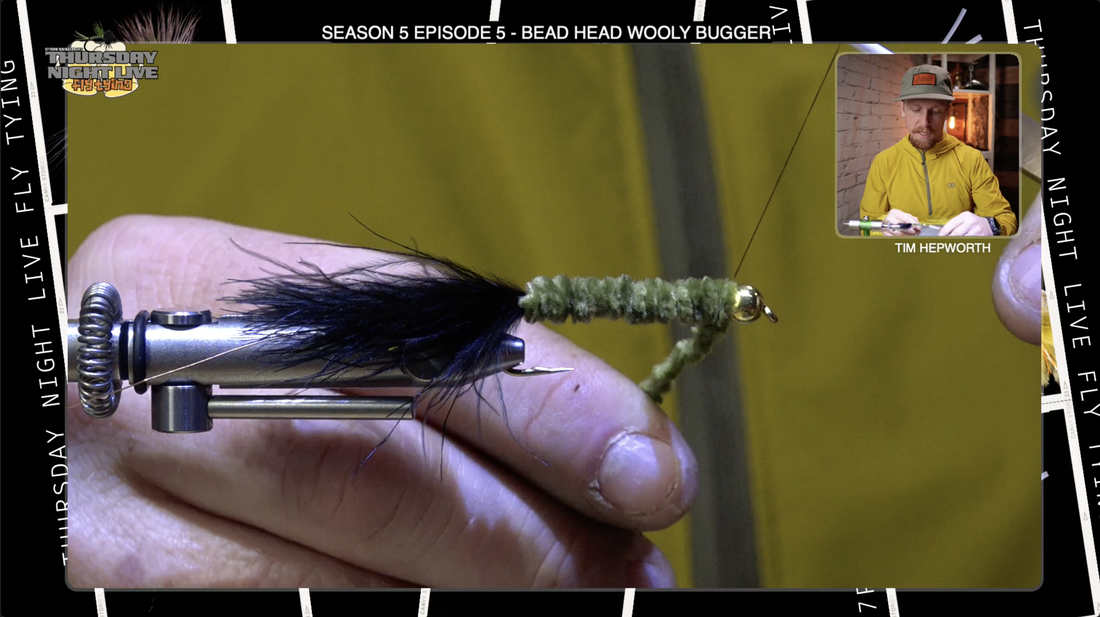
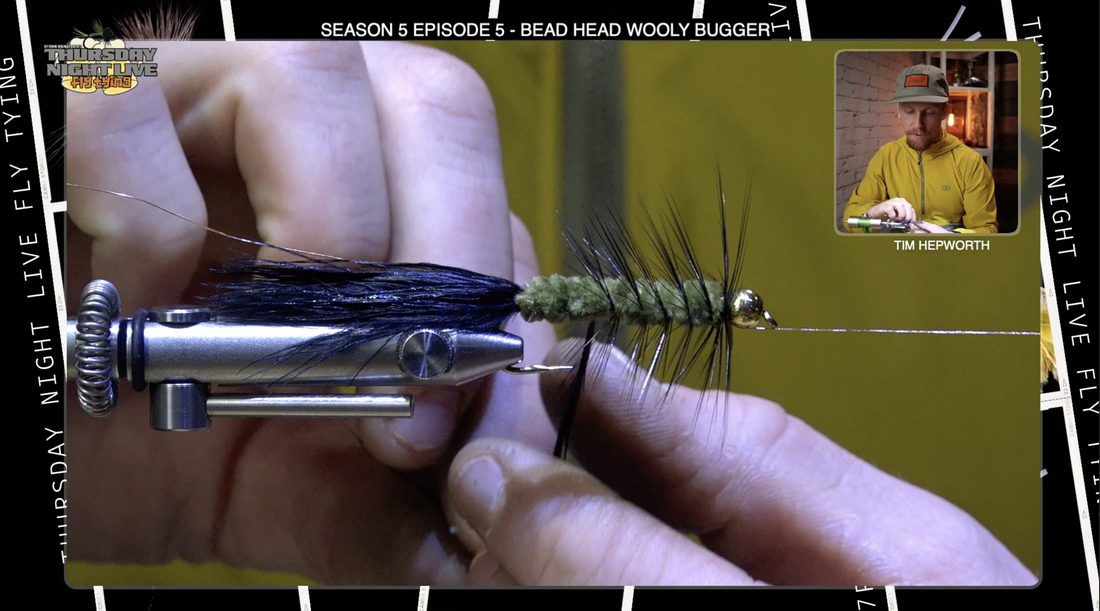
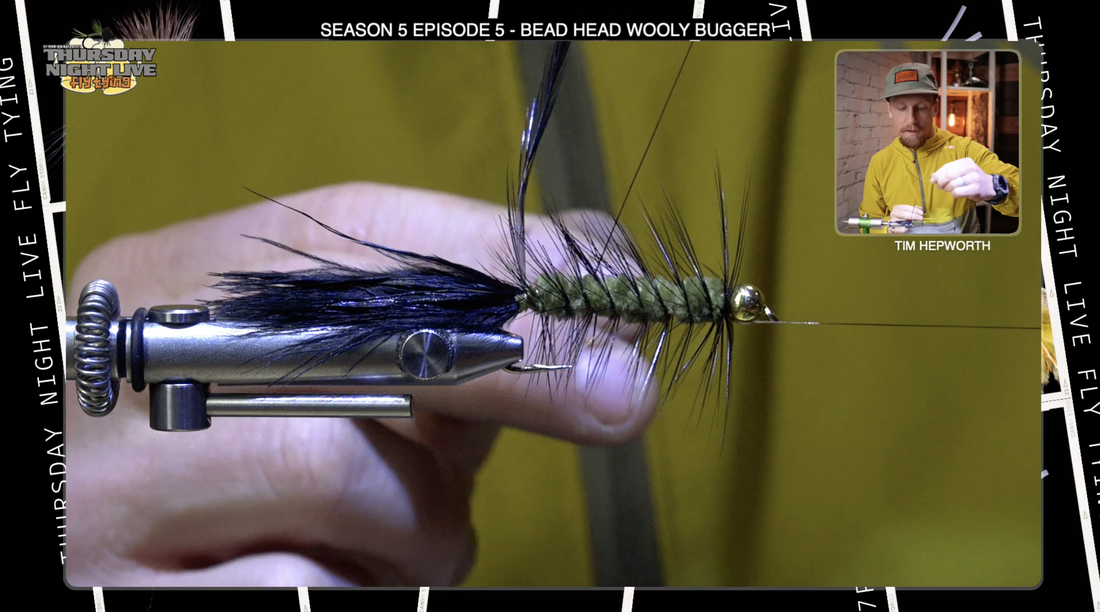
AU SABLE SKUNK DRY FLY TYING RECIPE: Hook : Size 10 dry fly hook Tail:.calf tail Body : Black Dubbing Wing: Deer Hair Legs: Rubber Legs Wing : Dry Fly Hackle Hello, lovely people. Welcome back to another Quickie with Tim. I am Tim Hepworth from Fly Fishing Bow River Outfitters and Thursday Night Live Fly Tying. We want to thank you for joining us tonight. Also wanna thank Rocky Mountain Fly Shop for sponsoring this. Remember, every order over $99 ships for free. We're gonna be working on this guy here today, the Au Sable Dry Skunk. Let's get rocking. We're gonna be tying this on a size 10 dryly. If you remember last week's quick tie, we did the Michigan Skunk Fly. Both of these are sisters to each other and There's slight variations. The original, it's got foam probably gonna float a little better. But I'm telling you what, you're gonna wanna work on these two cuz they're something special. Okay. I'm time with some UTC 70 in black today. Okay. I am going to get my thread started just behind the eye. I'm gonna work it back slightly. I'm gonna go ahead and trim out that tag. Now, the original pattern calls for some caftail, but this is a much easier product to work with and just as good in my opinion and as far as appearance. But we have Antron Yarn. So it's a lot easier to work with. Um, don't have to stack it, don't have to do anything like that. So I'm just gonna start it up like that near the. I'm gonna kind of, this is just using this to create a little bit of a bulk in the underbody. I'm gonna take it back to just before the bend. If I lay down my thread, if it's sitting at the back of the barb, it's kind of telling you you're just about there. Now I'm gonna trim this out to form a tail that's roughly half of a hook shank in length, out the back. Trim that off. You can see it pops up really nice. We'll set that aside. Now this version starts off with, instead of using foam, we're gonna go straight to our dubbing, And we are gonna work our dubbing forward. So you got a whole huge clump of this black dubbing. We're not using very much of it, just a light amount. We're gonna create a little dubbing noodle. Try to create this to be tight noodle as well as an even one. So we want a nice even underbody to this fly. we need to start with it on our dubbing noodle. That's where it all starts. We need to keep that nice and even. The underbody that we want. So just gonna do some touching wraps forward. Okay? We're gonna work that forward, leaving ourselves about a third of the head to work with still. I wanna leave myself a little bit of space because we have some stuff to put up at the front still. Okay? So that's where I'm gonna leave my fly or starting my thread currently now. When we go on this next portion, we're gonna be working some deer hair. Okay. So deer hair. We've been working with it quite a bit now. just be patient with yourself with this stuff, especially this type of deer hair we're putting on dryly is often quite fine. It might wanna move around on you a little bit. It might wanna flare more than you want it to. Just understand that it's not always perfect. The trout probably doesn't care that much about it. It's more for aesthetics, what we think. I just clipped off a little clump off of the patch. I'm gonna try to get All the little furries out from underneath the under fur. Okay. As you can see, I like to come back and just place it on my fly right at the start, before I start stacking it. Is that a correct amount? I think I've got a decent clump here. I think it's gonna be a good amount. I'm gonna go over to my hair stacker, use my SHOR fishing hair stacker. I've got a couple of different sizes. This is my small one. I like the small one for this finer hair. I'm gonna give it a stack. Now I'm gonna leave the base of it down towards the back of the fly. So when I pull this out, my tips are lined up in the right direction that I'm gonna tie in. Now I'm gonna come in and pinch that against my thumb, my forefinger, and get that out. I'm gonna pull out any more little fluffies that are hanging out there. Now this is where it can get fun, cuz you're gonna be switching back and forth with your hands a little bit. So I wanna measure a wing that basically extends halfway back into that Antron Tail. So you switch hands a few times, get a good pinch on it, and gauge where you want it to be. Think that's where I want it. Okay, so I'm gonna switch hands one more time, but it's important that I pinch really firmly here and don't let the hair, when I secure it, spin around the hook shank, cuz that's not what I want. Okay? So I'm gonna do a nice gathering wrap right up over top of that hair. I'm gonna do another one. Okay? I'm not pulling tight yet. I'm gonna build a couple of wraps. And then I'm gonna start pulling tighter. Now you're gonna see that hair wants to flare right away. We need to use the butts of that hair. Okay? So it's okay that it flares, but we need to gather it back up. So now I'm gonna switch hands. This is kinda the complicated part cuz this hair is quite fine. It'll even tear on you, but I'm gonna gather it in my front hand, making sure this is secure first, okay, that I can let go of the back. But I need all of these gathered first. Now I need to work my thread forward. Over top of that hair. So I'm just gonna hold the hair as I do it. And once it starts, I'm pulling upwards cause I want all that hair to stay right on top of the hook shank. Once I get to here, give it a good tug, it'll probably flare again on me, and then I'm gonna work that space in between putting some thread wraps down. Okay, now this is similar to like an Elk hair caddis when you build A bit of a head or kind of a, you know, it almost just works like a skating fly, almost like a gurgler. You want a bit of a head on this created by the hair. It's gonna help it float, it's gonna help you be able to see it good as well. So I'm gonna come in here and I'm gonna run my scissors up, leaving myself a little bit of a bulky head. Okay, now if I wanna shorten that up I can still trim that later, but I can't add hair back on, so don't cut it too short the first time. From here, I'm gonna go ahead and get my rubber legs. So we're gonna put two per side. So I'm gonna split that off there. I've got two of these white rubber legs. You could use barred legs, whatever, but the pattern calls to these white ones. So that's what we're gonna use here. I'm gonna make sure they're nice and even. And then I'm gonna tie two of them on the far side of the fly just kind of evenly splitting them. I'm gonna get those ones secured first. A few wraps. So it Stays in place and I can still maneuver them if I have to. Then I'm gonna grab my other two again, make sure they're split and then line them up. This'll go on the near side of the fly towards me.Now tension is the name of the game here. If you go too tight, right off the hop, you do things like what I just did there and get some of that hair that you want to use caught in there. So you gotta be a little delicate with it. Take a couple wraps and then move them to where you want them. Make sure they're kind of evenly spread. And now I want to fill in that space. So I need to put thread wraps all over in that space, cuz I'm gonna put some hackle in here after this. So I need to make sure that I pull that hair down. I wanna secure the legs all the way back to the deer here, and I wanna secure those legs all the way forward To the edge of the hair at the front. But what's important here is I have a good thread base laid down for my hackle to sit on. So what you should be left with right now is something that looks just like this, okay? All the hair should be up on top. We got our nice tail. Our legs are tied on both sides. A good head on it. Now we're gonna go to our hackle. So choosing it, choosing the appropriate hackle for this, it can be a little tricky. You want something that's gonna give it a bit of height. You don't wanna super oversize the hackle because then it's gonna kind of take away from what the fly actually is. So I'm cleaning off the base of the stem. I'm gonna tie it in from the base. I'm gonna leave the underside of the feather pointed back and down the fly. I'm gonna secure that stem right in front of that hair. Take a few thread wraps to kind of bind it down in both directions. We don't want that going anywhere. And you see that I took some wraps forward down into that space cuz I'm gonna wanna wrap material over it as well. I'm gonna go ahead and just trim out that tag. Now I am gonna end up whip finishing this fly or half hitching this fly right up the start. I need to leave my thread at the front of that gap cuz that's where I'm gonna finish this. I am gonna use my hackle pliers so I can hold onto this a little better. And then we just want some nice even wraps going back over top. Now just take it nice and slow. You wanna fill up as much of that space with the hackle as you can, cause that's gonna help this fly float even better. But you also don't wanna wrap on top of the previous wrap, so take your time making sure you hold the previous wrap outta the way. I'm gonna re-secure that again. So that's the point here. I'm talking about guys not pulling too hard. These hackle feathers can be quite delicate. We don't want to tear 'em. So you're gonna get three to four, maybe five at most. Wraps on here before you come in and secure it. We've gotta do that same wrap behind, wrap in front. Make sure we secure it down if we can let go of it with our hackle pliers, and I'm gonna try to dry all the material back and get a few wraps right there. Make sure it's good and tight. Now before I do anything else, I wanna finish this fly off with, with a half hitch. So you've seen me use it before I've got my half hitch tool. It could be anything. If you want to grab even your whip finisher, you can see they’re designed one on the base of that same with your bodkin. What this does, it helps me work around this head because I'm gonna basically push that head up with the tool and get my thread to follow underneath. So I place my tool there, and I wrap it once, twice. I need to find the hook eye with my tool and then slide those wraps off and down. We'll do it one more time. It's a great way of finishing dry flies. It's good and secure. You can still add some resin if you like. Now come in here and trim out your thread without trimming any of your hackle if you can. Then all we have left to do is trim out that stem. I'm gonna adjust my legs slightly in length, so I want my front to be slightly shorter. Then my back too. But again, like hair, you can't add the rubber back on, so don't cut it too short. I want my back legs to be extended to about The base of the tail and the front ones I kind of just gauge by my back ones. So once I've clipped the back ones, I'll come back forward and take just a smidge more off my front. There you have it guys. That is your Au Sable Dry Skunk. Great pattern to try out. Both the Au Sable Dry Skunk , and the Michigan dry skunk come from the same place. Little bit of different variations on each of them. Again guys, this is Tim Hepworth with Fly Fishing Bow River Outfitters, and Thursday Night Live Fly Tying. We want to thank Rocky Mountain Fly Shop. Remember, every order over $99 ships for free! AuthorTim Hepworth @timothyhepworth MICHIGAN SKUNK DRY FLY TYING RECIPE: Hook: Gamakatsu S10 #10 Thread:Uni 6/0 – Black Tail:Kip/Calf Tail Body:Ice Dub – UV Black Foam:2 MM Black Under wing:Krystal Flash – Pearl Wing:Deer Body Hair – natural Legs:Round Rubber Legs – Medium – White Welcome back everyone. My name's Tim Hepworth. We're here with Fly Fishing Bow River Outfitters and Thursday Night Live Fly Tying And I'm here to bring you another quick tie. Today we're tying the Michigan Skunk Dry. We wanna thank Rocky Mountain Fly Shop for sponsoring this quick tie and bringing it all to you guys. I will be tying out of my season five kit today. You still wanna grab one of these? You just go ahead over to our website. You pick one up today at www.flyfishingbowriver.com/tnlS5. Well, without further delay, let's head over that vice and, let's get started. As you see here, the Michigan skunk dry, if you're getting skunked fish this dry. Let's grab that size 10. Dry Fly hook. Get it in that vice. Firm it up. Make sure it's level. You want to hear the ping? The ping is good. You're ready to go. Slide on over to that thread of yours and let's get some black UTC 70 to tie this fly, slip that thread under the hook shank. And get it going. One wrap at a time. Back down the hook shank. Reach on over to those scissors and snip out the tag. Now when you're ready, you grab that first material. It's gonna be some antron yarn, slick white, and ready to be a tail. I'm gonna come in here, trim it off clean. Set that right on that hook Shank. Get that gathering wrap. Couple of 'em in fact, and then slide it back. Let's take a few securing wraps back down that hook shank, all the way to the bend. Now if that's too fast for you, I want you to take a moment and slow it. Grab those scissors again. Come in here, measure half that hook shank and trim it off just like that. Now we're gonna reach over to that 2mm black foam. I'm just gonna snip a little pointy bit into the end. We'll lay that on our hook shank with our thread started just behind the eye, and let's get it secured right on top of the hook, shank, one wrap ahead of time, all the way back to the bend. And then let's go ahead and secure that. Give it a little tug. Make sure it's secure. Now from here, we're gonna reach on over to that black dubbing. We're gonna make ourselves a short little noodle on our thread. Take a little wisp secured onto that thread. As tight as you can as to not make too thick of a body. Now let's advance that forward with some touching wraps. When we get to the two-thirds mark, up the hook shank, we should have run outta dubbing Now grab that phone, flop it down on top. Gather it with a wrap pinch on top and give it a snug little tug. Now we'll just advance the thread on top of the foam down to the head. Secure nut, not phone. Once more, just like so. Now let's grab a piece of crystal flash. Fold it over a couple times, giving yourself a few more individual pieces. Do it once and again. Do it twice. Now let's take that crystal flash. And lay it down the back and tie it in. Secure the butts of the crystal flash into that opening you created for length. Let's extend that just beyond the back of the foam. Now we're gonna grab our deer hair. We're gonna take a small little chunk about half of a pencil width and snip it off the patch. Now reach on over to your hair stacker, get the tips put in first. And give it a little tap. And when the hair comes out, we want it pointed back down the fly. If your tips are aligned and ready to go, let's set it on top of the crystal. To the same length. Switch hands and secure it down. First wrap is loose, second is tighter, and so on. Get some wraps through the butts, securing it all the way down. Now while you're still holding that there, let's come in and trim everything. Nice and short, without cutting your thread. Once you've completed that, let's get a few more wraps covering up the butts of the. You can now let go of the deer hair and see your wing. Let's go ahead and grab our rubber legs and get two pulled off. Align the tips. Let's set them right in that gap in front of the hair and take a nice loose securing wrap before separating them onto the near and the far side of the fly. This is what we want it to look like. Now. I'm gonna secure those rear legs. Right back against the hair. We're very close to finishing up the fly. If you have any little hairs that are out on their own, should be a good time to get them outta the way. Now, once again, we're gonna go over to that dubbing. We're gonna start by bringing our thread forward to just in front of the hair. Let's make another short dubbing noodle with a wisp of that dubbing. Again, a nice tight dubbing. The first couple wraps will be in front of the legs, and then a couple in between to finish it off, the last step will be to bring that foam back and pull it over, and that's finish off with a bullet. A few wraps should do before sniping out the foam and whip finishing the fly. A two to three turn whip finish should suffice. Once that's pulled tight, we'll clip out our thread and all that's left is to trim our legs, trim to a desired length, leaving the front legs slightly shorter than the back. And there you have it, folks. The Michigan Skunk Dry. Thank you for joining me, Tim Hepworth with Fly Fishing and Bow River Outfitters, and Thursday Night Live Fly Tying. AuthorTim Hepworth BEAD HEAD WOOLY BUGGER Fly Tying Recipe: Hook: Daiichi 2220 #4 Bead : To fit hook Thread: Black 3/0 Monocord Weight: Lead Wire Tail: Black Marabou Rib: Brassie Sized copper wire Body: Medium Olive Chenille Hackle: Black Rooster Saddle Everybody. Welcome back to another quick tie here with Tim Hepworth with Fly Fishing Bow River Outfitters, and Thursday Night Live Fly Tying. We want to thank Rocky Mountain Fly Shop for bringing this quick tie to you guys today. We're gonna be tying up the wooly bugger today. The bead head, wooly bugger. All right, let's move on over to the vice. Go ahead and get your bead and your hook put together. Remember, you need to probably mash down that barb to get this bead on the hook shank. So go ahead and do that, and then get it fixed in your vice good and secure. Before we put any thread on this hook, I'm gonna grab a little bit of this lead wire that's in your kit. We're not gonna use a whole bunch. More. What I like to use this for is to seed that bead up against the top there. So I'm just gonna grab a piece here, do a few wraps, nothing too crazy. I'll use up this wire just cuz I've got it on there, but that was about a two inch piece. Nothing too wild. We're not trying to cover all the way down. This will build a nice little taper up to the head as well. But more than anything, we like this to shove up into that bead and hold that bead in place. So it's not gonna go anywhere. Once we do some tie. So what I'm using today is I'm using some UTC 140 and this kind of bronzey, dark brown color. Anything dark is gonna work just fine. I'm gonna get my thread started just behind those lead wraps. Okay. I'm gonna put a few thread wraps down, trim out that tag, and then I'm just gonna work a nice thread base okay. Up onto that wire, making sure it doesn't move anywhere and down into the bend. So don't have to perfectly cover everything up. It's more about that lead not moving. Then let's head on back to where that Barb used to be. I'm just gonna spin my thread and cord up my thread a little bit. I come forward a little. We don't want to be down into the bend, we just want to be at the edge of the bend. So I'm gonna go about there witht the first material we're gonna stick in. There is gonna be a piece of maribou. So grab one of the pieces of maribou you got outta your kit if you're tying out the kit. So the traditional way of tying this, I'm gonna pull all of this down until I get to those. You can tell there's a different density and the tip of the maribou, although I like it and I leave it on when I'm gonna be fishing, we're gonna tie this kind as traditional as we can. So I'm gonna come in here, I'm gonna use my scissors not to cut, but to push my thumb against the material and try to tear All of those off. So I do that and what I'm left with is just more the puffy portion of the tips instead of that more fine tip. Okay, so now what we're gonna do is we're gonna size this guy up. We want it to be roughly a full hook shank and length as our tail. So somewhere right about there, measured off the front. I'm gonna translate that back to there. Switch over my hand. Get a nice thread wrap down and now I'm just gonna work some thread wraps forward, making sure that stays in place. And I'm gonna try to trim this off right about where that lead wrap stops. It's gonna create that nice little taper for me, like a little ramp right up to there. I'm gonna come in here. Work the rest of the base of that feather into there and then bring this back forward. Okay, now that I'm back on the back of the fly, I'm gonna go ahead and grab this copper wire we have in our kit. Okay. A nice long piece here. This is why we're gonna actually affix our hackle Up the fly here momentarily. So I wanna make sure that's good and secure. I'm doing it on the near side of the fly towards myself. Just gonna have it sitting back and outta the way. Now I'm gonna tie in some Chenille. So you got some of this olive colored Chenille there. Obviously there's so many variations to color you could do on this. You could use cactus Chenille, you could use this Verigated Chenille, whatever it is, your dealer's choice. We're gonna use some Chenille to wrap up here. So I've just corded out and exposed the cord that is in the middle of the Chenille. Okay? And I'm gonna get that spin my thread towards my hand as we know that causes my wrap to jump rearward. I'm gonna secure that down and I'm gonna take my thread all the way forward up to the bead. I'm gonna do a little half hitch there. I am gonna grab Chenille and Palmer it forward doing touching wraps. Okay. Trying to keep as even underbody as possible. Not super crucial, but. Just for the appearance of the pattern. Gonna work that all the way forward, right to the bead. Okay? I'm not gonna worry about leaving too much space there, cuz this Chenillie will compress as I put thread wraps on it.
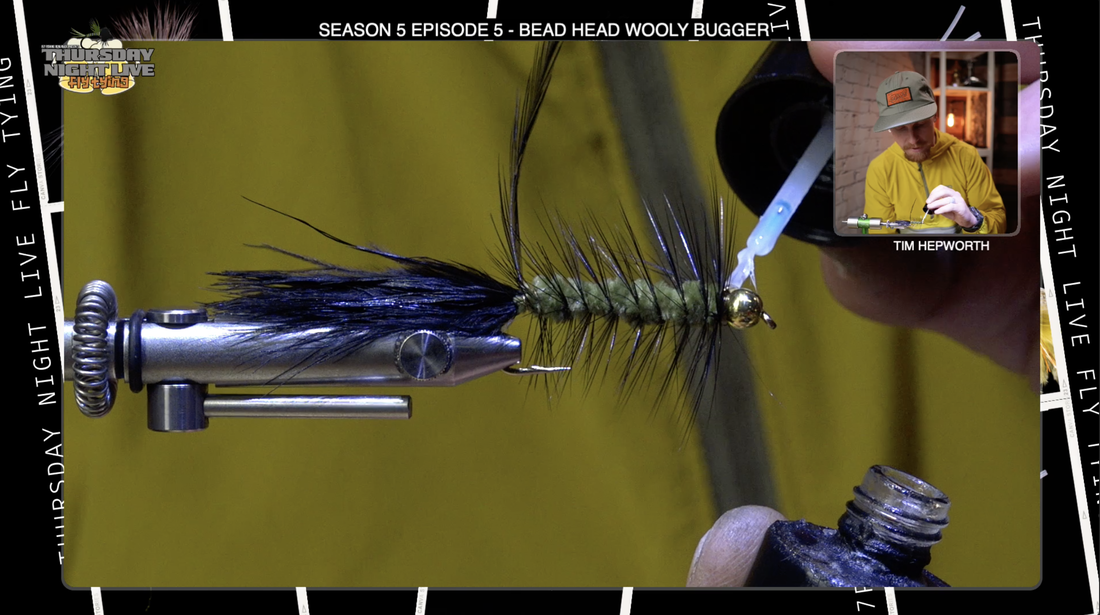
Secure that Chenille in with your thread. Then we can go ahead and trim that out, okay? Get rid of that. I'm gonna take a few more thread wraps just to make sure that little butt end of the Chenille gets secured and it's not gonna go anywhere. I really only have one more material to put on. And a lot of times in streamers, we put the hackle on the back and work it forward. We're actually doing it in reverse. Okay. So we're gonna put the hackle in up here at the front and put it back. And then allow our wire to secure to bring it forward. So I've got some saddle hackle. You can have bugger hackle, whatever you want. You kinda appropriate the size, depending, it doesn't really matter. It can be a little bit bigger at the top of the fly. So what I like to do is I come in here, I'm gonna grab the fluffies off the hackle and pull 'em outta the way. I don't wanna work with those. this time we're gonna tie it in by the butt end because we are starting at the front of working back. We want it to taper. So my, the fibers of this hackle are longer at the butt section, so we'll tie it in that way first, as most as always almost We're gonna put the underside of that hackle facing back down the fly. I'm gonna secure that right behind the bead. As always, we wanna make sure that it is not gonna pull out once we start taking wraps, rearward with it. So I'm gonna secure that down. Now what I'm gonna do is I'm gonna quickly do a little half hitch knot, get my thread outta the way again. And now when I do my first wrap, I want to do one complete wrap. All the way around 360, so I have my collar. Okay. Gotta create that collar before I start going back down the fly. And then I'm gonna palmer down the fly. This nice even spaced with the hackle. If you moisten your fingers a little bit, you can always get that maribou to stay outta the way. It has a way of soaking up water and kind of cooperating when you add a little bit of moisture. Now I'm gonna take this all the way back, right at the base where we Tied in that maribou. And now I'm gonna grab my wire and I'm gonna bring my wire over top going the opposite direction. Okay. Cause I need it to grab and make that securing wrap on the first time around. And then all I'm gonna do is I'm gonna palmer this back forward and you'll see it. I'm gonna move it in and out to try not to Trap Any of that hackle that we just put on, and you'll notice that this is now cross wrapping over top of the stem of that feather, and that gives this fly a ton more strength. So if I catch a fish on this woolly bugger, its teeth get into that feather, it could break the feather and it would all unwind. Whereas this way, The whole feather is being individually secured, constantly up the fly. I'll bring my thread back in. I'm gonna get a thread wrap in front, thread wrap behind. Gonna repeat that process, making sure that the wire's not gonna go anywhere now. Either go ahead and grab your pair of Dana scissors, or you could helicopter it off. I'm just gonna grab these scissors here. This will dull your scissors, so don't use a good pair. And now what I'm gonna do is I'm gonna whip finish this fly right here. I'm gonna trim out that thread. I am gonna put just a small dab of some uv. I'm using bone dry by Solarez here. I just wanna put a small dab on the thread that I can see there, and that way I know this isn't gonna go anywhere. Here's real quick, it's real thin. Touch that with the torch. And there you have it guys. You can see how that taper worked out quite nicely. All I gotta do now is go in and trim out the stem of that feather that we left at the back, and that is your bead head woolly bugger. Super popular pattern for many different species. |
 RSS Feed