


Discover the Thrill of Fly Fishing in Calgary
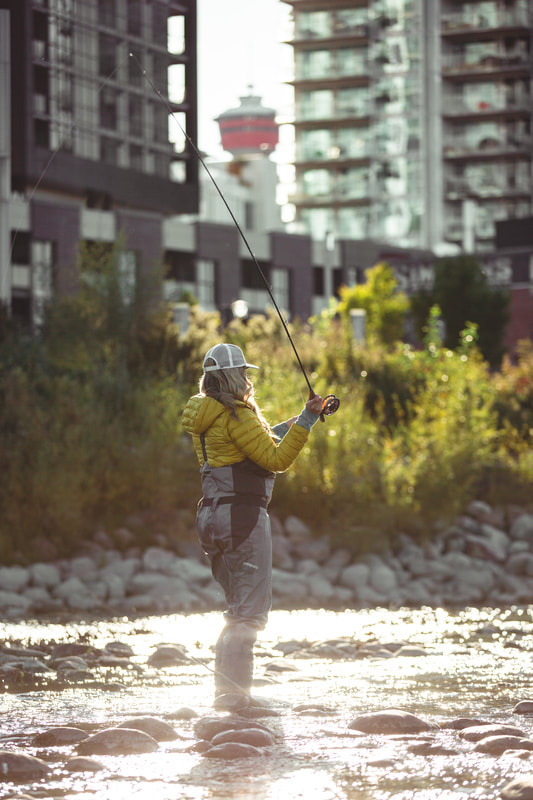
Calgary, nestled near the majestic Rocky Mountains, offers a unique blend of urban life and natural beauty, making it a prime location for outdoor enthusiasts. Among the myriad of activities, fly fishing stands out as a popular pursuit for both locals and visitors. The question, "Is there fly fishing in Calgary?" is met with a resounding yes, and it's an experience that beckons anglers of all levels to explore the serene waters and vibrant ecosystems the region has to offer.
The Bow River - A Fly Fisher's Paradise
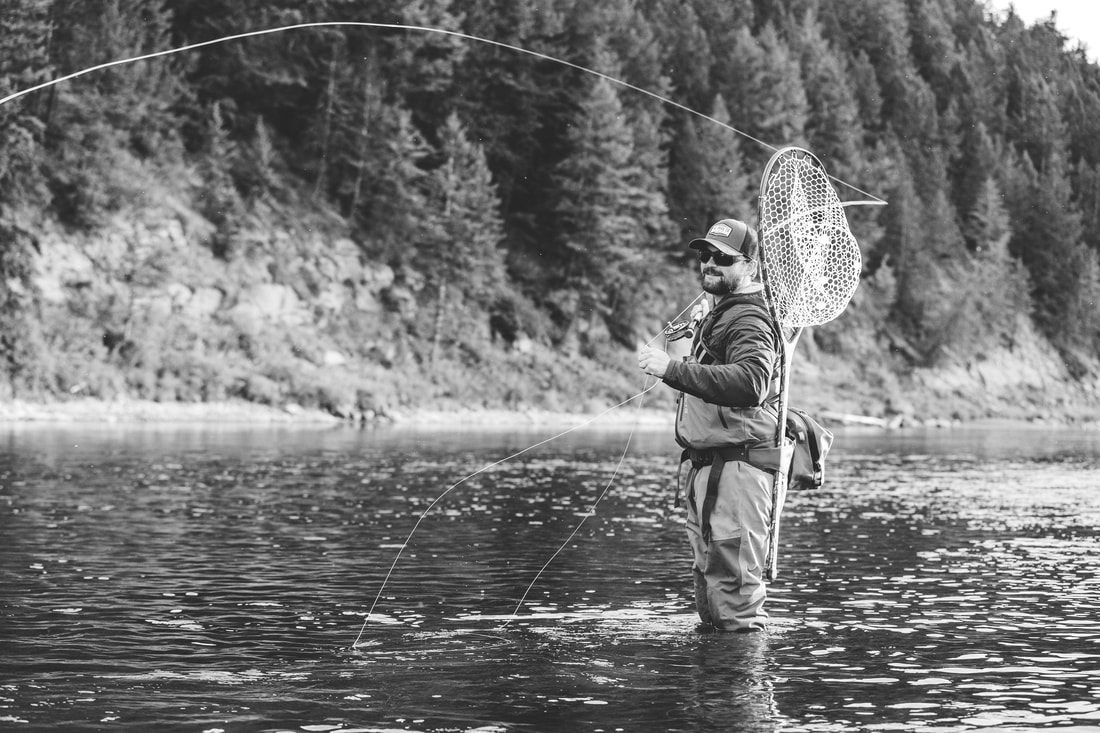
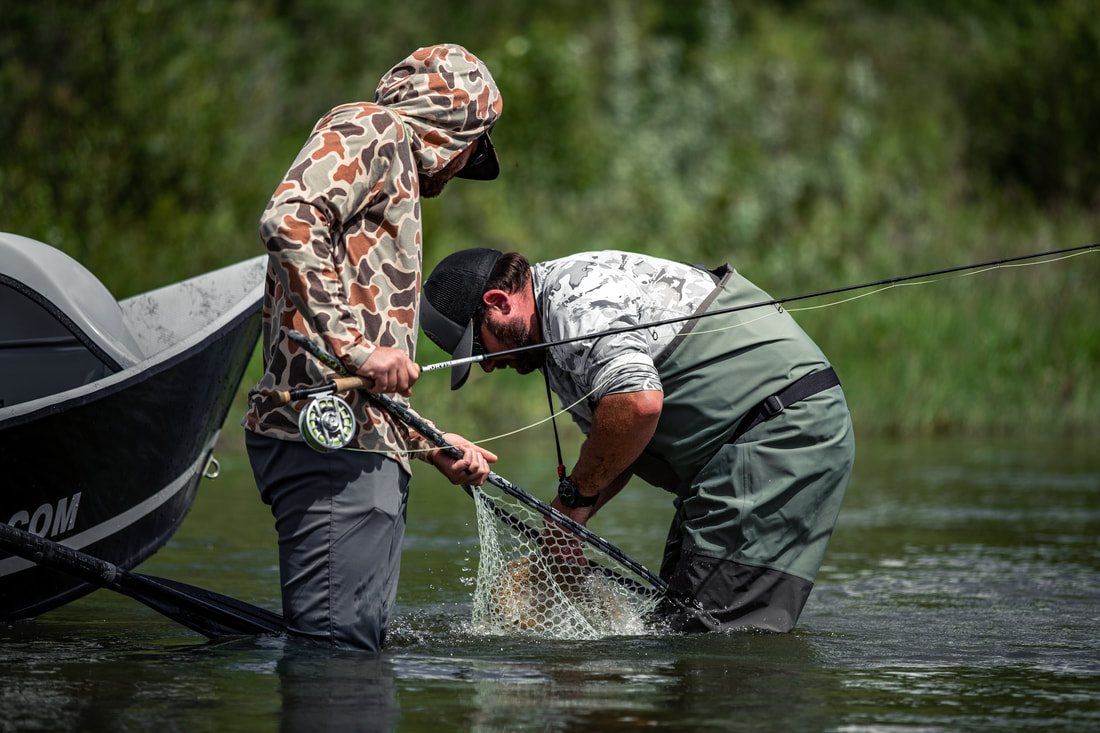
At the heart of Calgary's fly fishing scene is the Bow River. Known for its crystal-clear waters and abundant trout population, the Bow River is a world-renowned destination for fly fishing enthusiasts. The river's ecosystem supports a healthy population of rainbow and brown trout, providing anglers with the opportunity for a rewarding fishing experience. For those looking to delve into this exhilarating activity, www.flyfishingbowriver.com offers comprehensive guides, tips, and resources to ensure a memorable adventure.
Accessible Adventures for Everyone
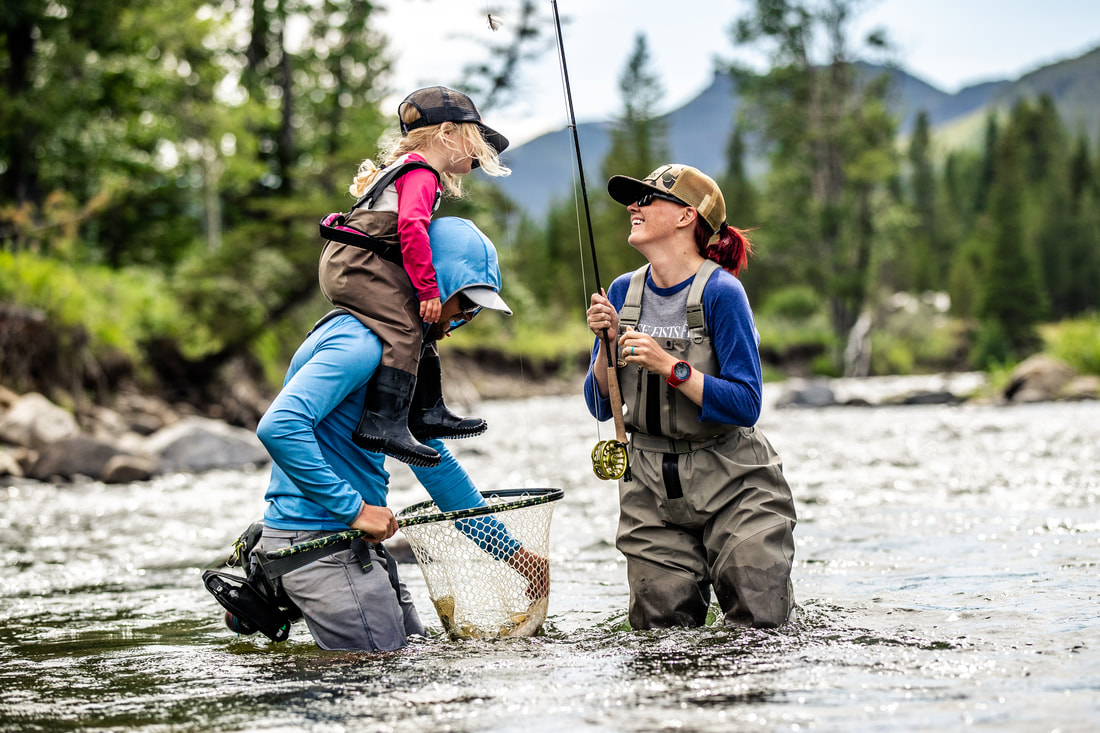
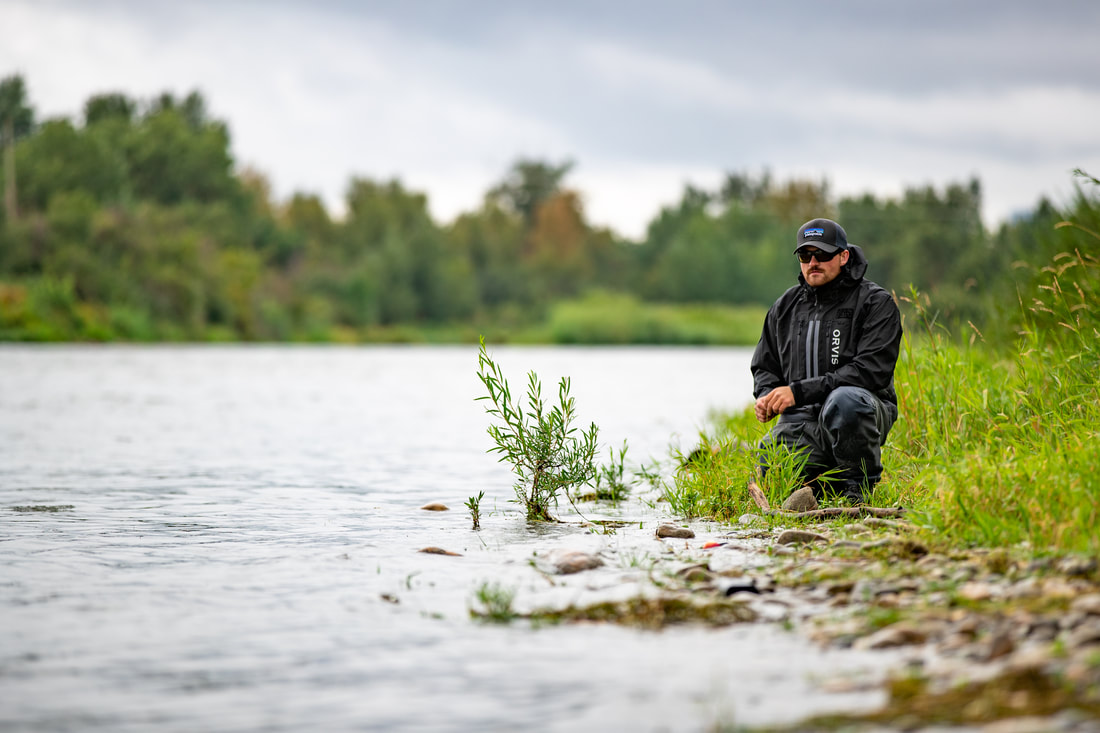
One of the charms of fly fishing in Calgary is its accessibility. Whether you're a seasoned angler or a beginner, the region offers a variety of spots that cater to different skill levels. From the gentle flows near the city to the more challenging waters upstream, there's something for everyone. Additionally, local outfitters and guides are readily available to assist in making your fishing journey as fruitful and enjoyable as possible.
A Year-Round Activity
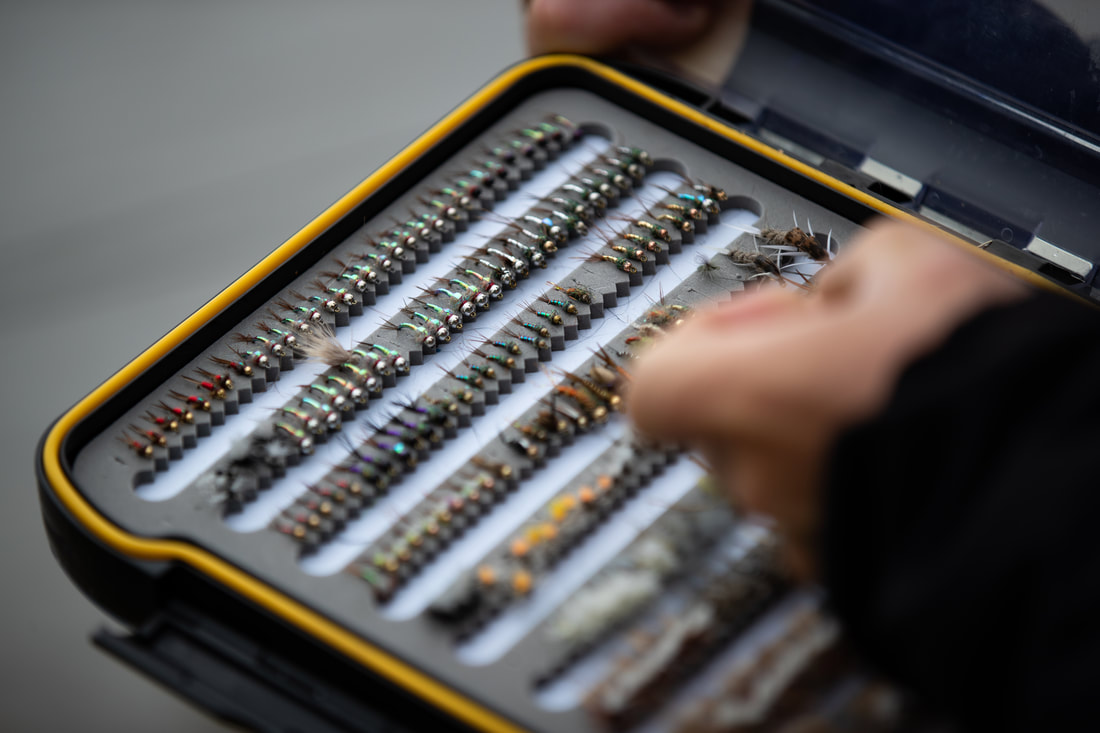
Fly fishing in Calgary isn't limited to a specific season. While the warmer months from late spring to early fall are considered prime time for fly fishing, winter fishing has its own appeal and set of challenges. Ice fishing, in particular, is a unique way to experience the sport amidst the serene, snowy landscape. However, it's crucial to be prepared for the weather and to have the appropriate gear, which can be found through resources like www.flyfishingbowriver.com.
Conservation and Respect for Nature
Engaging in fly fishing in Calgary also comes with a responsibility towards conservation and environmental stewardship. The local fly fishing community is deeply committed to preserving the natural beauty and health of the waterways. Practices such as catch and release, using barbless hooks, and respecting wildlife habitats ensure that the ecosystem remains vibrant and sustainable for future generations.
Join the Community
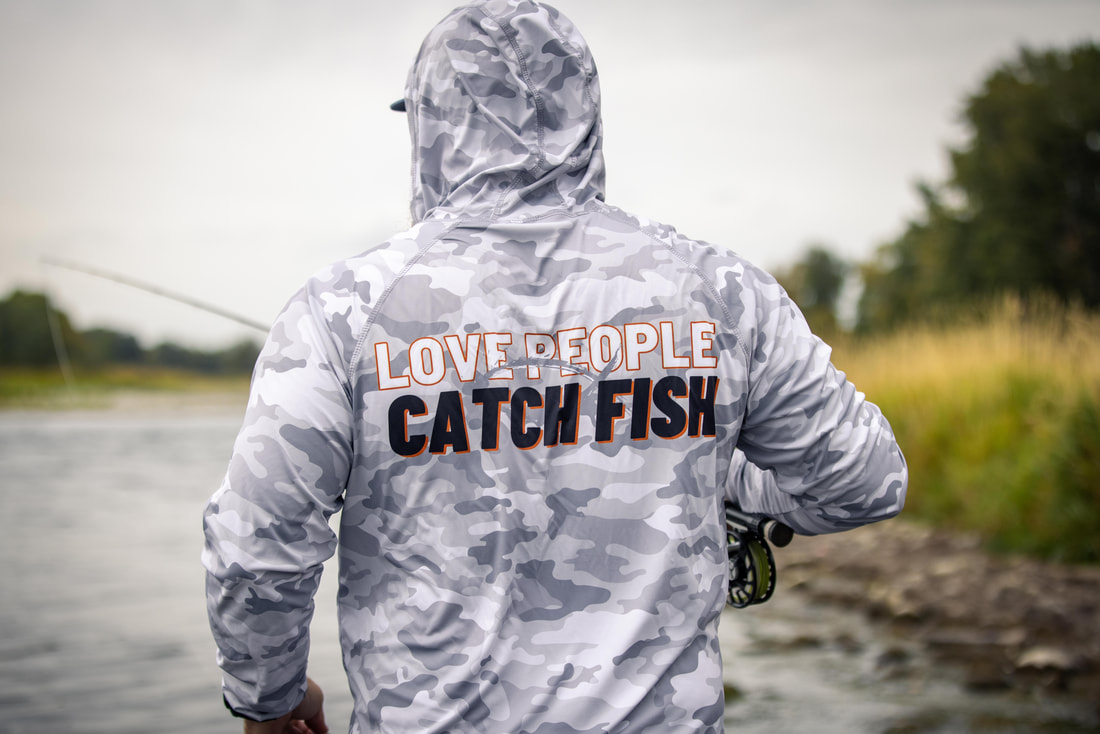
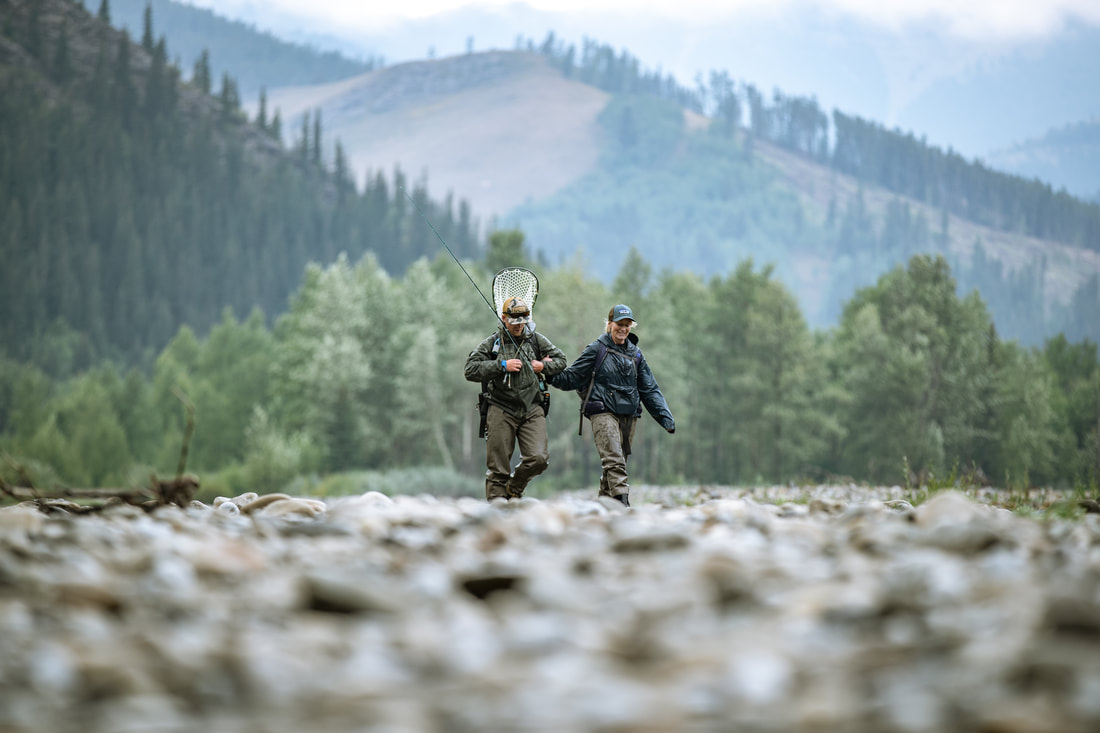
Calgary's fly fishing community is welcoming and enthusiastic, offering a fantastic way to meet like-minded individuals who share a passion for the outdoors. Local clubs, online forums, and events provide avenues to connect, learn, and share experiences. Whether you're looking to improve your skills or simply enjoy the camaraderie of fellow anglers, there's a place for you in this vibrant community.
 RSS Feed