|
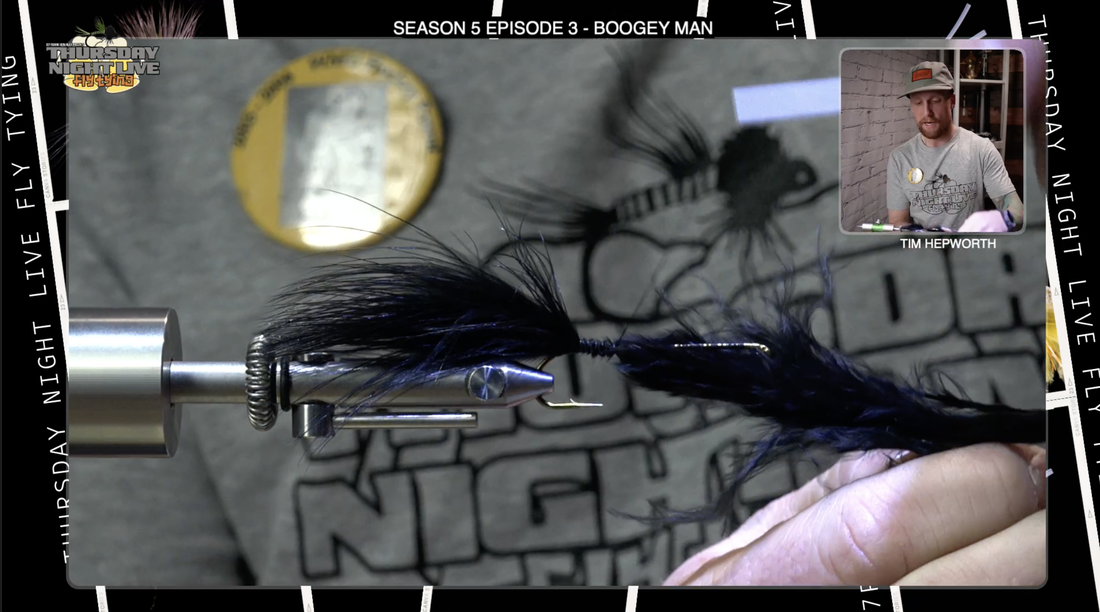
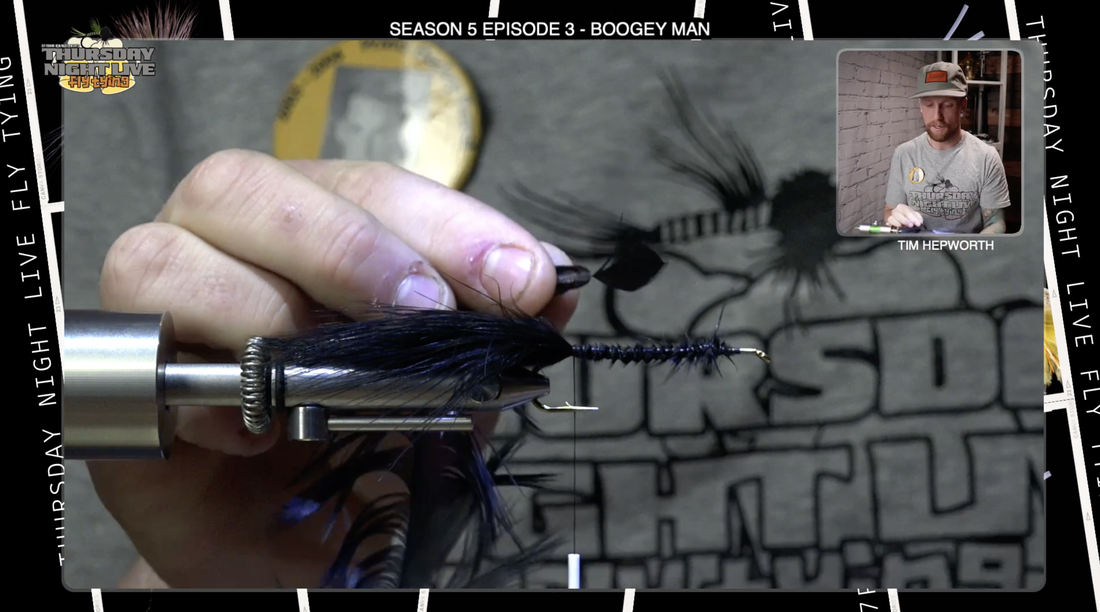
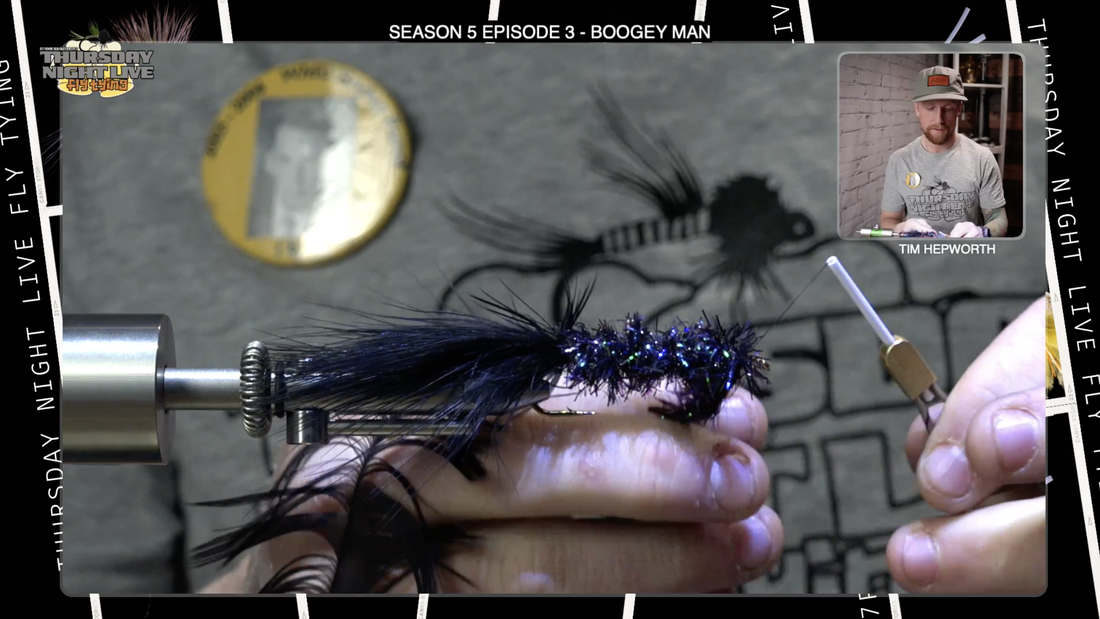
BOOGEY MAN ARTICULATED STREAMER Fly Tying Recipe: Rear Hook: Daichi 2461 Size 1/0 Thread: Black FlyMaster Plus Tail: Black marabou Rib: Brassie Black Wire Body: Black Cactus Chenille Hackle: Black Schlappen, palmered over the body Wing: Wood Duck Flank feather, tied flat on top Front Hook: Daiichi 2461 Size 1/0 Eye: Medium Red Lead Eye, tied on bottom of hook shank Connector: Looped Beadalon Wire, with One Red Bead Threaded Tail: Black Marabou, extending over the connector Rib: Brassie Black Wire Body: Black Cactus Chenille Hackle: Black Schlappen, palmered over body Wing: Wood Duck Flank Feather, tied flat extending to mid-point of rear hook Head/Collar: Black Sculpin Wool, tied in and cut to shape 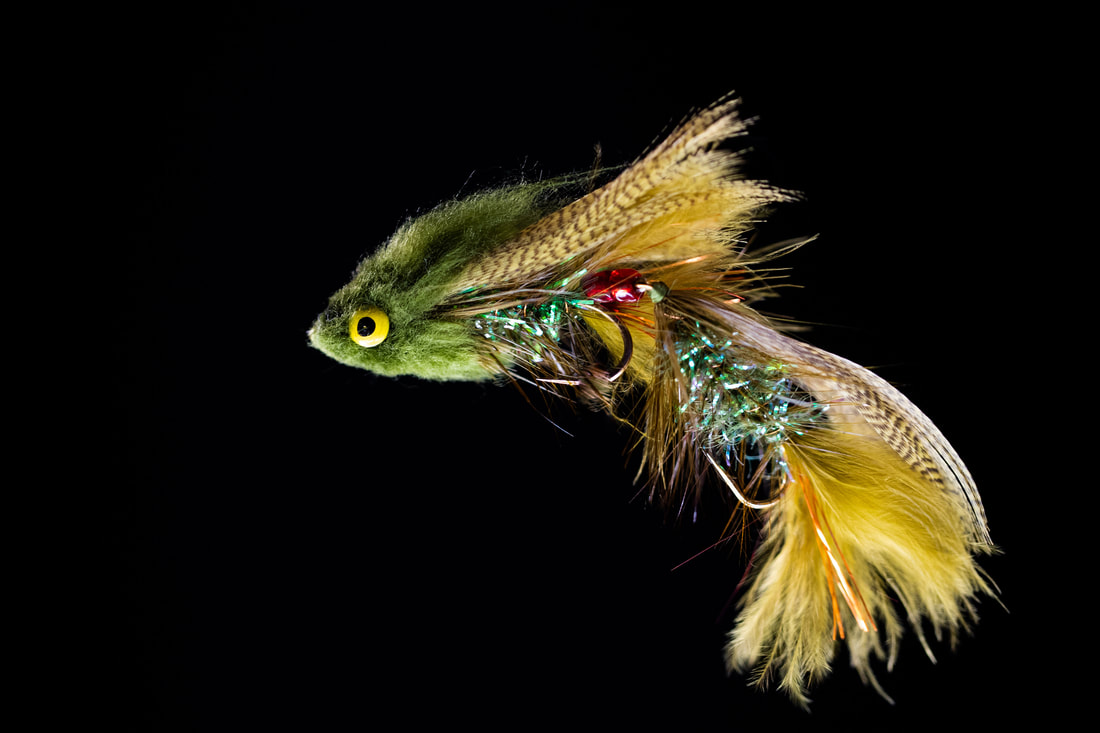 On this quick tie blog, we are going to be tying up Kelly Galloups Boogeyman. An awesome streamer pattern that is sure to allure some big fish into eating it. This quick tie is brought to you by www.rockymountainflyshop.net , and we are going to be tying out of our Season 5 kits ( purchase yours here www.flyfishingbowriver.com/tnls5 ) we're tying from season five episode three. If you don’t have the kits with all your pre packaged materials, you can still find our recipe list for these flies on our website, or it should be listed above on this page. Let's head on over the vice and get started. First things first let's go ahead and grab one of our hooks, a daiichi 2461 and this isn't a one ought size it's a long streamer hook. It’s the first hook for the back end of The Fly, as always on these articulated streamers. I am tying with some UTC 140 in Black. first thing we're going to do is we're just going to come in here and let's lay down a good base of thread wraps. Start it somewhere up by the eye. I'm going to put this a little deeper into my nor vise. I can just whip this up. I'm going to add some thread all the way back down into the bend and bring it back up. I'm just going to lay a nice thread base down there so those materials that were put on next have something to bind onto. then I'm going to bring my thread right back to about the Barb. go ahead and grab out of your kit or if you're tying from home grab from your materials. We're going to grab a chunk of Marabou, and the color scheme for this fly today is going to be in Black. So we're going to grab a good chunk of Marabou and measure it being roughly the length of that hook shank, set that back to where I left my thread switch hands, do a nice Gathering wrap secure that Marabou , and start taking thread wraps forward. Now I'm just going to use the underside of this remaining part of the marabou to kind of create a little bit of bulk as I go down the hook shank. you can see here I'm just gonna basically attach it down to one side or the other I'm gonna get near the eye, then I'm just going to come in here trim it out and then make sure that base of the feather is secured down. I'm going to come back up the fly , then just right back down the fly to where I tied the marabou in, and we are going to tie in our next material. Next material is a schlappen. start up at the tip pull some of that fiber back down, turn it over so that the underside of the feather is pointed rearward down the fly and come in here and secure this right in front of that Marabou. make sure that's good and secure. I'm even just going to lay that little piece of the tip down. make sure that's all good and secure, don't worry about all that bulk we have underneath. that just creates a little profile and it's not going to be seen. we're going to head on over to our large size Cactus chenille. we're gonna strip off a few of those fibers so you can see it exposes just that little bit of chenille cord. we're going to lay the cord we have exposed on top of the hook Shank and gather them, secure them down nice and tight. work our thread forward this time right to the eye and I'm gonna go ahead and put a little half hitch in to secure my work up to this point. I'm going to set my thread off to the side on my bobbin cradle and now I'm going to start wrapping my Cactus Chenille forward. I'm going to do a full wrap all the way around first before starting to head forward
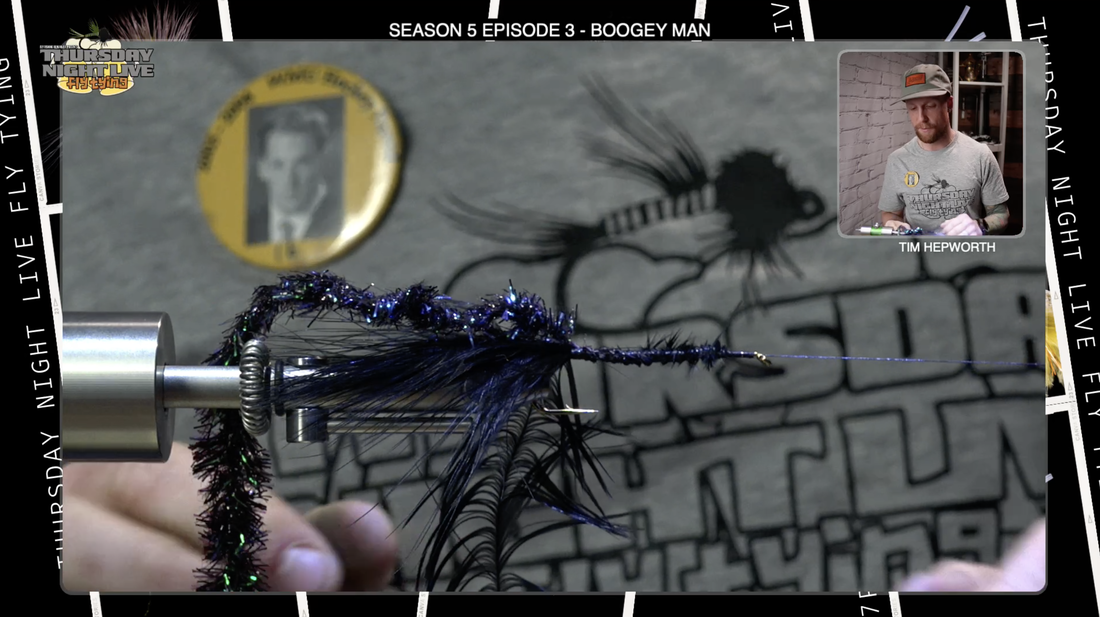
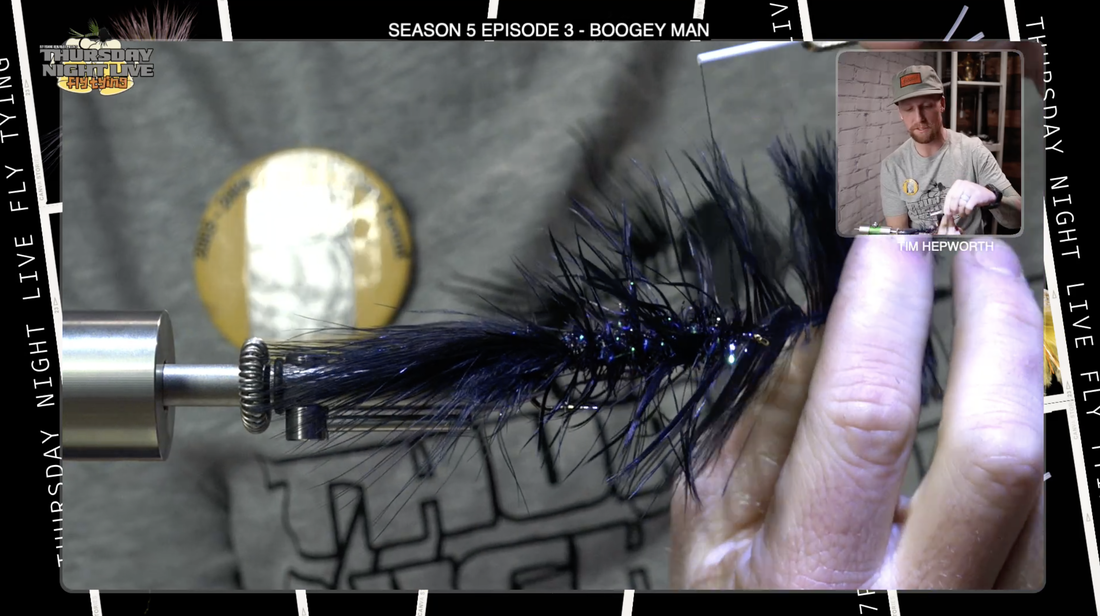
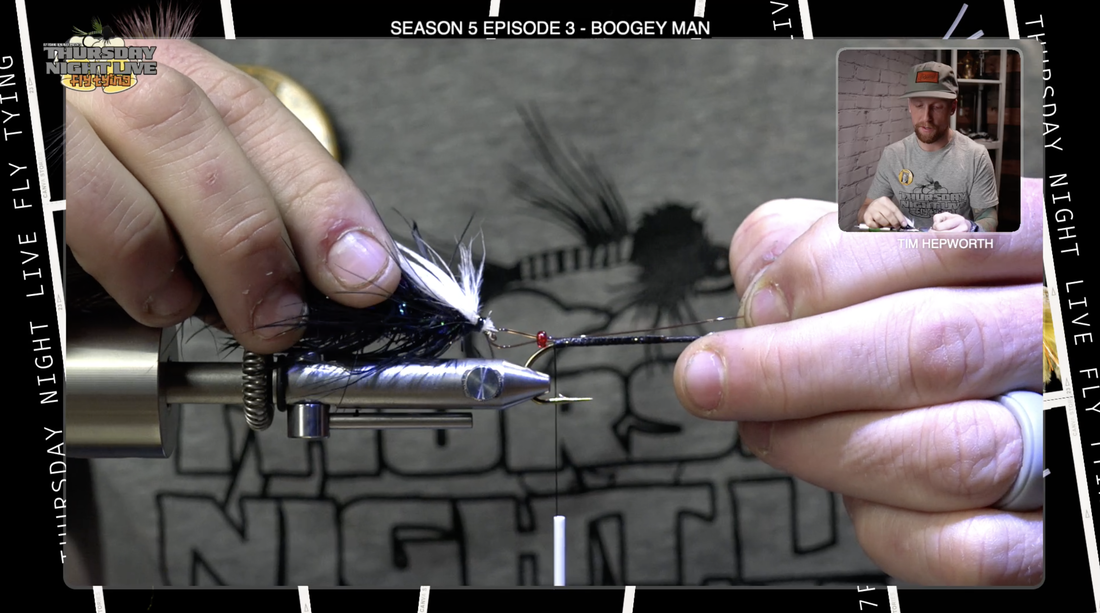
As I go forward I'm just going to pull the fibers back so they stack nicely all the way forward, just kind of pulling them back each time I wrap forward. I'm going to take this all the way up to just behind the eye of the hook. leave yourself a little bit of space up there and bring that thread back in, thread wrap behind, thread wrap in front as always to secure that material, do that twice and you can go ahead and trim out that Cactus chenille. make sure it's out of the way, gonna take a couple more thread wraps to make sure that's all locked in. I'm going to do the exact same thing again. I'm going to do a little half hitch and set my bobbin off to the side of my cradle. Now I'm going to come to our schlappen . I'm going to do exactly the same thing. I'm going to start palmering it forward and as I do I'm just kind of making sure that all the pieces of the feather are standing up nicely. it's not an exact science and it doesn't need to be. just wrap that forward and we're going to leave it basically right where we left that Cactus chenille. we're more or less trying to make sure we're just now wrapping back over top of any of the pieces. I'm going to bring my thread back in and do the same thing, thread wrap on one side in front, thread wrap behind and repeat that process a couple times to make sure we have that good and secure because we don't want this to come undone. we can come in here and trim it out and I'm just going to fold everything back, take a few thread wraps to make sure that's good and secure, not going anywhere. I can come in here with a little brush and just make sure I when I brush it's just going to pull all those pieces of that feather apart kind of get them headed rearward down the fly. Now one of the best parts of this fly that I love so much and the appearance that it gives is our Mallard flank. we're gonna put a mallard flank feather right on top, this gives the appearance of the top of the back of a fish and you can kind of vary your coloring scheme. I like these tan ones, they're barred and look like maybe a little brown trout's back. we're gonna set it right on top. We want it to extend just into the tail slightly, not too far just a little bit. make sure it's right on top of the hook shank and that it's not going down to one side or the other. this one's important that it stays up on top. go ahead get some thread wraps on top of it take your hand off make sure you got it good and level. If it's not perfect, adjust it and take a few more thread wraps back to make sure it's secure, lift up the tag end make sure you get some wraps underneath that that's going to lock it in to keep it from twisting. We can go ahead and trim it out now and all I'm going to do is take a few more thread wraps , trim the base of that feather up a little , and don't have to be super clean. let's do a quick little whip finish. I'm going to grab a little bit of my favorite UV resin which as you know is that solarez bone dry, it’s very thin and I really like this. it'll soak into this material quite nicely. put a drop of it on there and let that soak in for half a second. grab my UV light and cure that. we're gonna pop that out the Vise we'll set it aside for the time being. we're going to get to work on the front half of the fly.
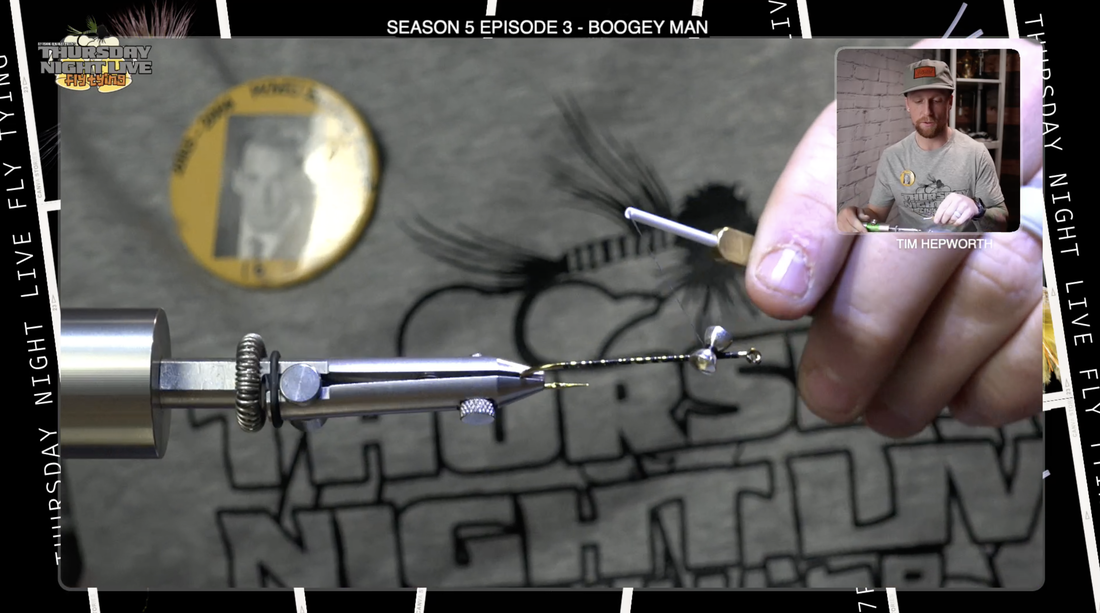
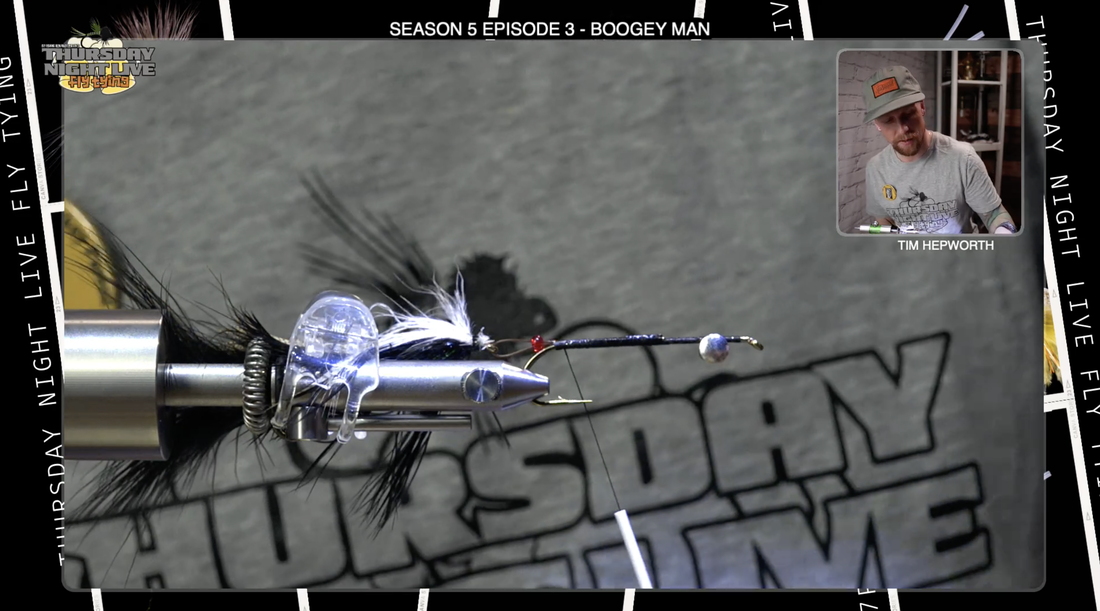
I'm going to go back in and grab another hook (daiichi 2461) . we're using that same hook we used in the back end we're going to use for the front end. make sure we get it good and secure in the norvise. now I'm going to go ahead and grab my thread again and start it up by the eye, work some more of a thread base down just like we did before. take that all the way back into the bend and back forward and this time we're going to come up about a couple of eye lengths behind the eye itself and we're going to go ahead and tie in our dumbbell eyes. We got some of these lead eyes here and we're going to lay it kind of across as it naturally wants to. it wants to kind of sit on that Crux. we're going to take our first few thread wraps just to hold it in place then we can switch directions so right now it looks like that we can switch directions and pull it over from the other side too we just start taking some cross wraps either direction then we'll throw in some figure eights which is exactly like it sounds. This looks like a figure eight so around one side around the other takes some just around the eyes itself. then we want to take those eyes and we want to spin them so they're on the bottom where the lead eyes sit is the way it's going to swim. we want the hook down on this fly. take a few more thread wraps making sure everything's good and secure when you're happy with it we'll take some thread wraps farther back and now leave it about mid Shank. You can hit those eyes with bone dry solarez if you wish. Now in your kit or if you have some at home, we're just using a piece of mono but you could use Intruder wire or anything like that to attach the back to the front hook. we're going to secure the back piece to the front so I'm going to lay this mono on top of the hook shank. take some thread wraps and we're really going to put quite a few nice tight wraps down , securing this all the way back, trying to keep it right on top of the hook shank. we're going to take it just into the edge of the bend and I'm going to come back forward. just really securing that in place. now what we're going to do is we're going to go ahead and grab a couple of the beads that you have in your kit as well as any type of beads. craft beads or whatever you like can work. you can use a couple or use one , either way we're just basically tying with some beads to hold that back hook out of the way so hopefully it doesn't come back in and foul the front hook when you’re fishing it. I'm gonna stick this mono through the eye of the back hook. I'm going to bring it back forward and I'm going to slide that back through that bead and it all kind of depends on how stiff the line or the Intruder wire you are using, but most of them are stiff enough that it's going to hold that back in place. I'm going to leave that Loop a little ways back, pinch down and start taking some thread wraps of that mono or the wire and this time I'm going to flip it over and double it over. then I can snip it out. get that good and secure down.
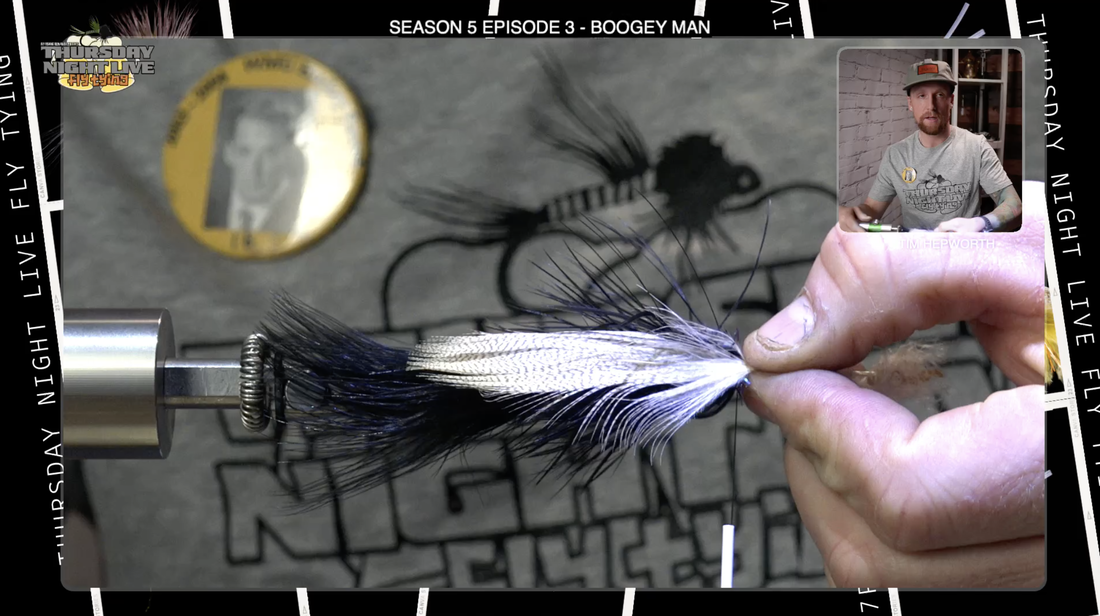
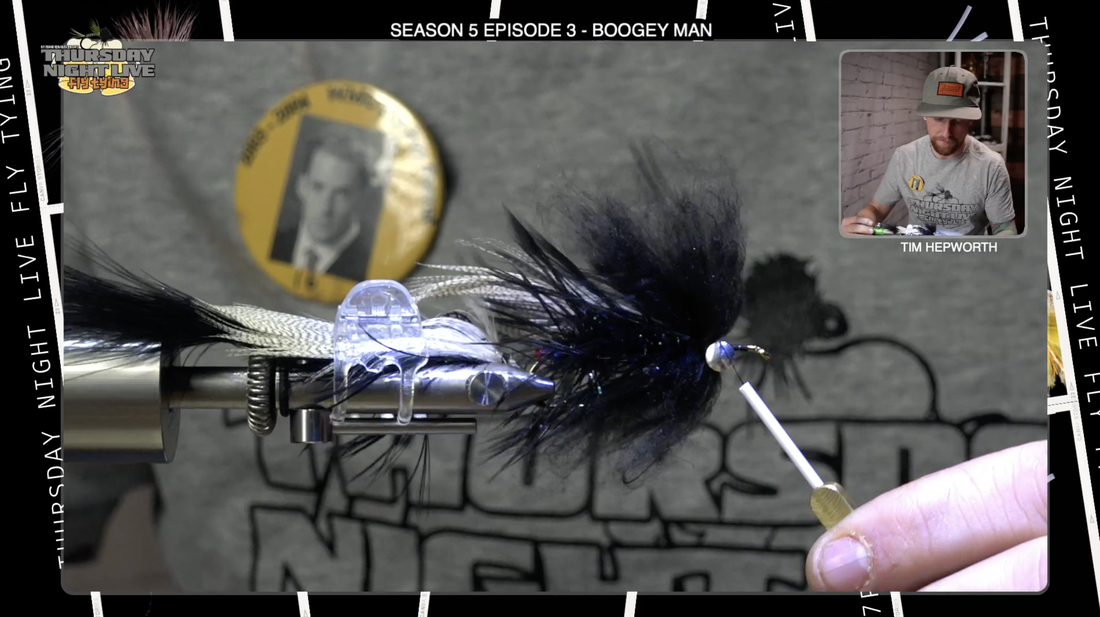
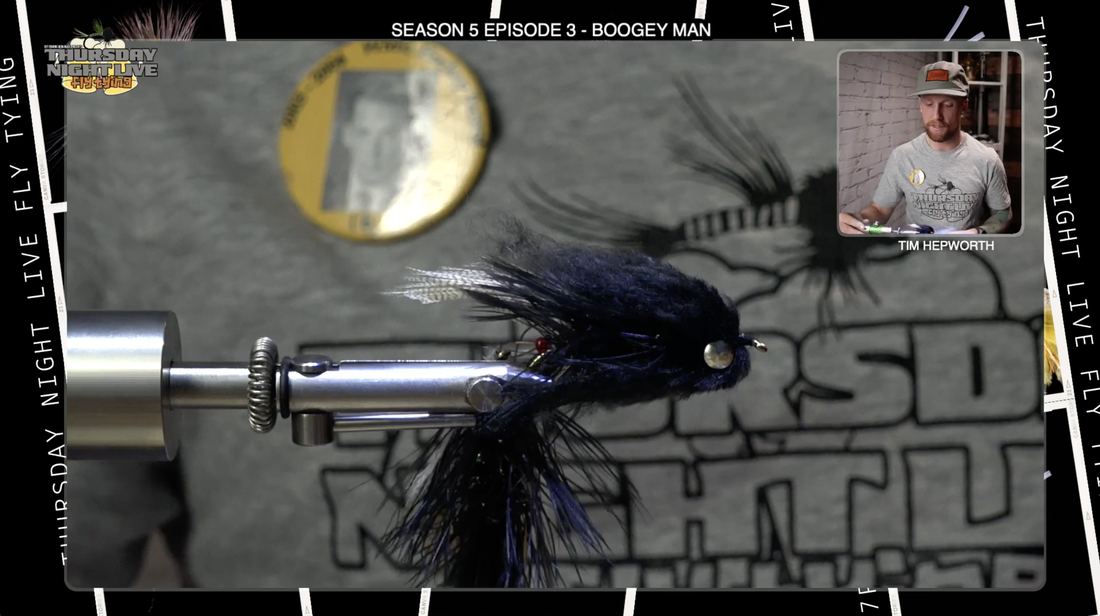
I'm going to bring my thread back to this back portion of the fly. now some people would like to put some Marabou back in here but we're going to tie as close to the original pattern as possible, so we're going to leave this as is and we're just going to start working on that front portion again, which this time we're going to go straight to tying in our schlappen or your saddle Hackle ( whichever you prefer). we'll tie that in first, same thing Underside back down the fly. we'll kind of secure that tag like we did the last time by bringing my thread back down. go ahead and grab that Cactus Chenille, again peel off a few of those pieces so you can expose that core and get that core secured down. This time we're going to wrap forward just behind the eyes. I'm gonna throw in a little half hitch, hit that save button and now I'm going to start wrapping forward with my chenille. same thing kind of trying to pull all the little pieces back as we go forward. This is a nice bulky looking Cactus chenille, it has lots of Flash in it and it’s gonna look great in the water. we're gonna bring that forward . leaving one of those lead eye spaces behind the current lead eyes. Secure it by wrapping in front, wrapping behind and make sure that's good and secure and then we can trim it out. really wrap down and make sure it's good and secure. now we're going to take our schlappen and we're going to do exactly the same thing we did last time , making sure we try to pull those pieces of the feather apart to make sure we're not trapping any of them as we move forward but we will brush it out kind of again so we should be able to prevent most of that just going to Palmer that forward through that chenille and we're going to leave it right by those eyes and secure it off again wraps behind wraps in front go ahead in and trim it out again take a few thread wraps really make sure that's locked in place. I'm going to take my brush like I did before brushing it a little bit, then we're going to go over and repeat what we did in the back. we're going to grab another one of our mallard flanks. we want it to extend just slightly into that back portion so that it overlaps on the mallard flank we have in the back. we just want that to overlap slightly, right up on top of the hook. tie that in place to secure it down. A few more wraps and we can trim it out super close. Now we're going to work on the head of the fly, which might be some of the more complicated portions. I just have a little clip on there to hold everything back out of the way. We are working with sculpin wool. Now you want to grab a chunk of it, it's about an inch - inch and a half long. I am using black and what I like to do is kind of fluff it up. I'm just going to keep pulling it apart and stacking it and it almost builds air into it. It makes it nice and fluffy and that's kind of how we're going to gain some shape and fluffiness to this. I'm going to find that halfway mark in it and we're going to start by putting this on the top and putting a thread wrap over top of it. a couple thread wraps forward and then I'm going to pull it back., you want to tie this first one in pretty much right behind the eyes so pull it back and add a couple thread wraps. it's going to look pretty poofy as we tie it in and then we'll do some trimming after to give it shape. Now we're going to flip it upside down and we're going to repeat that process on the underside. Same thing to fluff it up, and lay that just behind those dumbbell eyes. secure it in place with a couple wraps. pull it out of the way and we're gonna flip this fly back up again. I'm going to advance just in front of my eyes. okay so that's our first portion, and I'm gonna grab another clump. this time I'm going to lay it again kind of doing that same halfway part and I'm going to lay it on the underside of the fly. I'm reaching my thread behind the dumbbell eye and on this side. I'm going to reach the thread on the underside of the dumbbell eye and make sure that stays on top. it just filled up that space on top of the dumbbell eyes. That's kind of the harder spot to fill. Now I'm going to flip it upside down and repeat that exact same thing on the underside. fill that space upside down and we got a couple more to do but we are almost there. that's going to fill the underside of that Gap. you want to end up pretty close to the front of the fly with the wool and then what I'm actually going to do is I'm going to take a few wraps if I can back on the wool, kind of helps hold it back out of the way and create a bit of a thread Dam. I'm going to do a quick whip finish and then we're just going to do a little trimming and add your favorite resin up here at the head. I'm gonna do just a small dab of it so I know that's very secure but it never hurts to add just a little touch of some resin, let that soak in a half sec, hit it with the light. Let's do a little bit of trimming. note that when you're trimming wool it is actually pretty hard on your scissors so if you got a little crummier pair. or a pair of Dana's Scissors. maybe use them instead. I like to stand it all up so it looks like a big mohawk. now I'm going to trim the shape. I want to be a little bit pointed the nose leaving some of that wool to go back over that mallard flank but the shape is up to you, just remember you can't put it back on once you've trimmed it off. I'm going to make my first cut at a bit of an angle towards the back do a little bit of the same again on the side. this is my first kind of big General cuts. I'm going to flip it upside down I'm going to do the exact same thing a pretty steep angle on this one. I like how that's sitting trim a little bit more and now from this point all the trimming you're doing is just to satisfy the appearance that you want. I like to moisten the fingers just a little bit and pull back on it. it's going to give me a little better appearance of what it's going to look like.
There you have it , Galloup's boogeyman. I suggest you keep a few of these in your box. they are definitely productive. I am Tim Hepworth with Fly Fishing Bow River Outfitters, and Thursday Night Live fly tying. This has been the boogeyman, another quick tie blog. Don’t forget that www.rockymountainflyshop.net has free shipping over $99 ! See you next week AuthorTim Hepworth - @timothyhepworth |

 RSS Feed