|
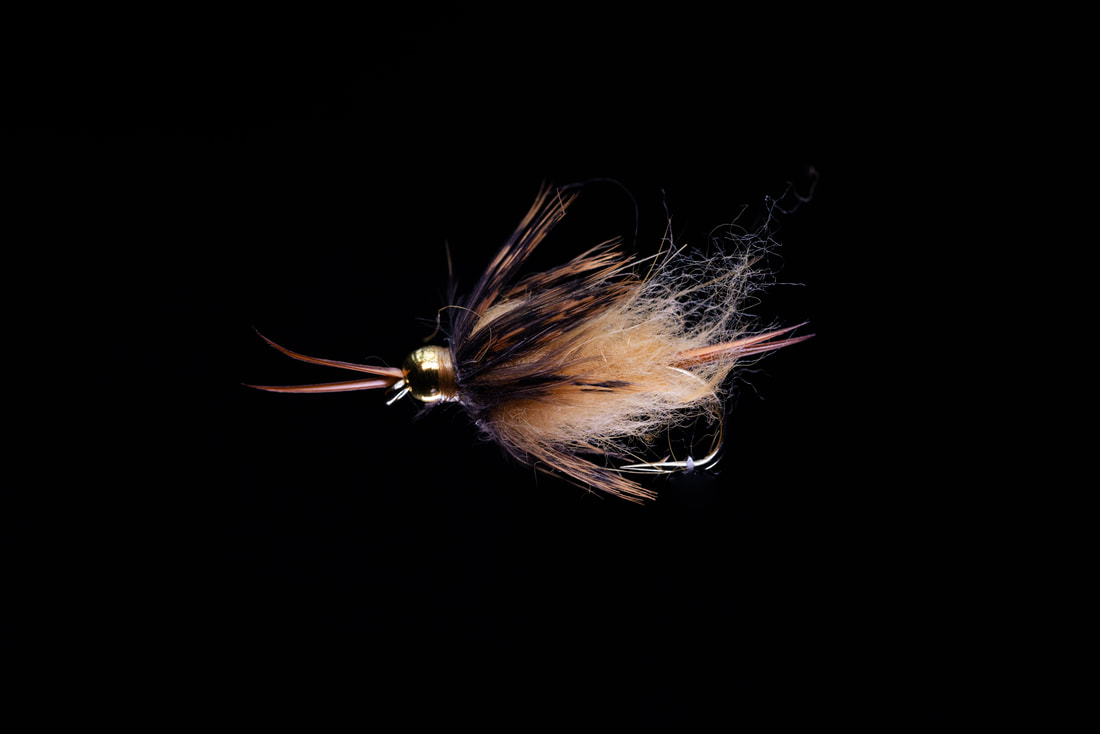
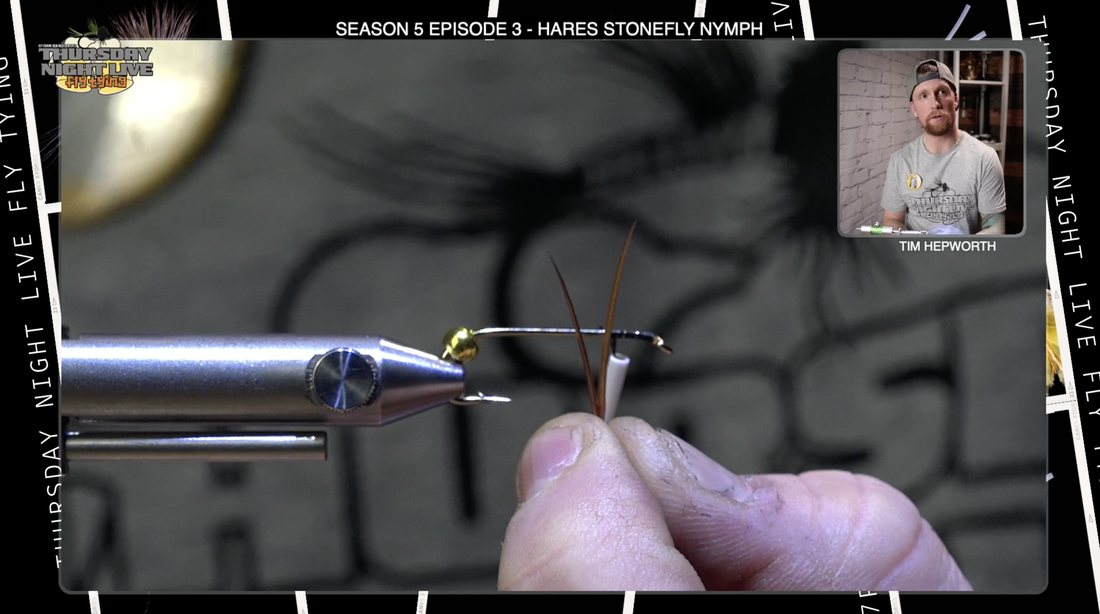
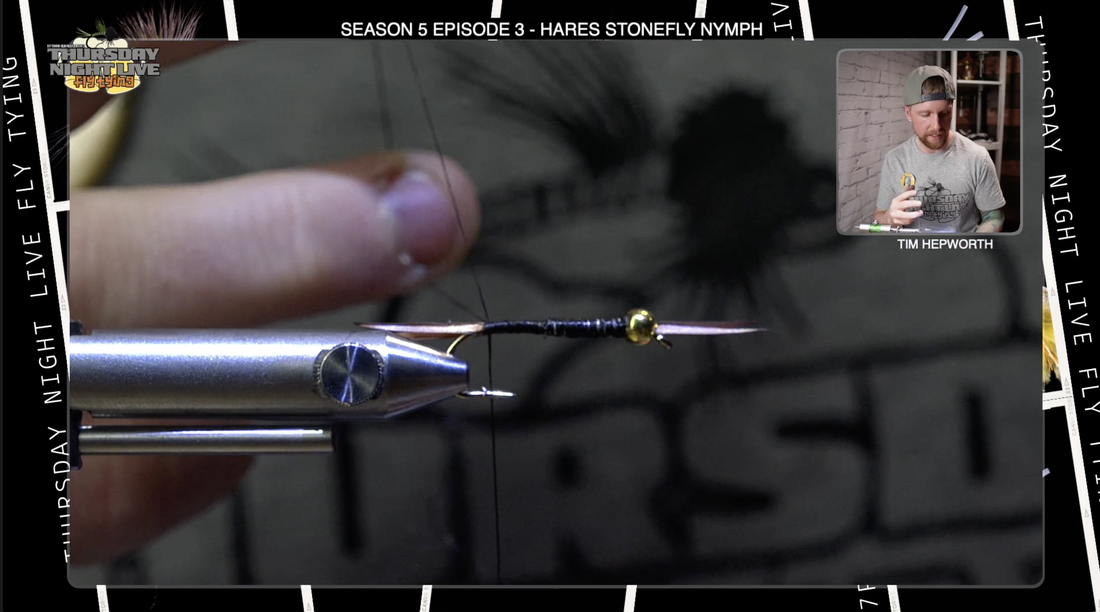
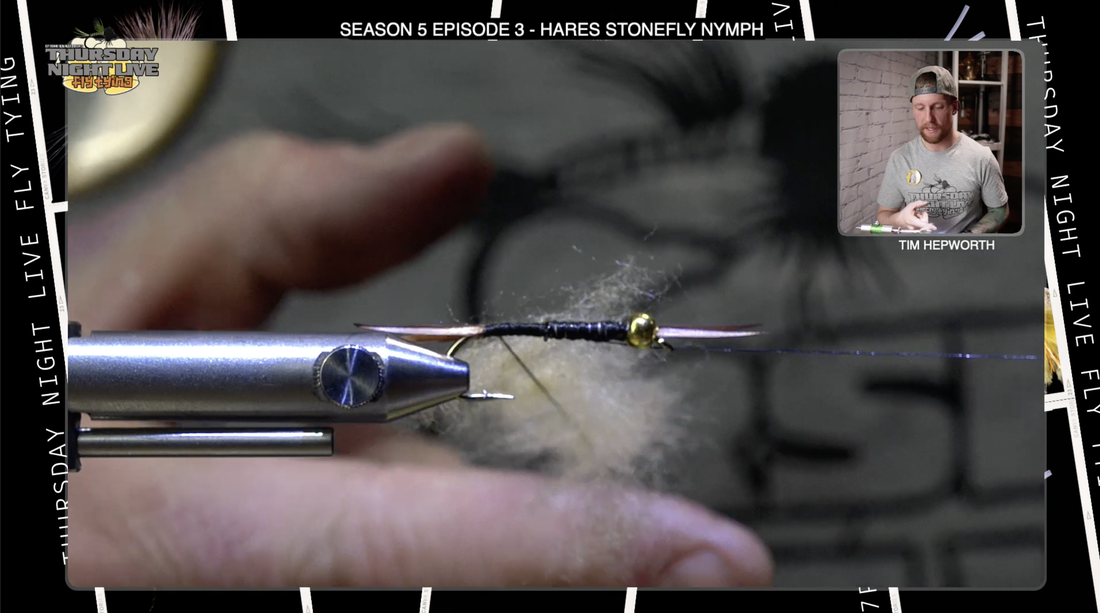
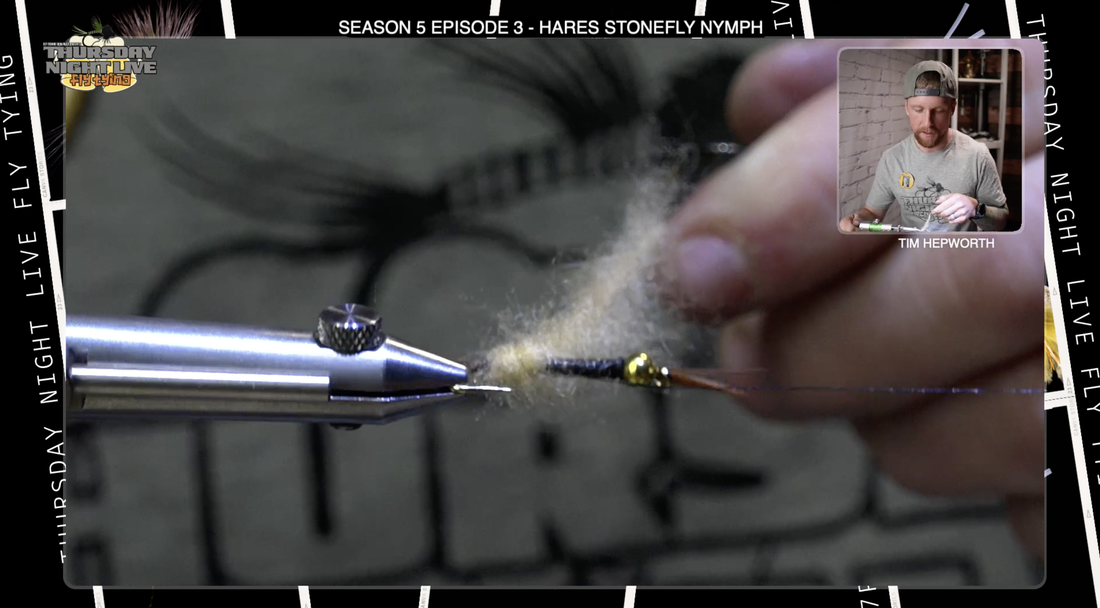
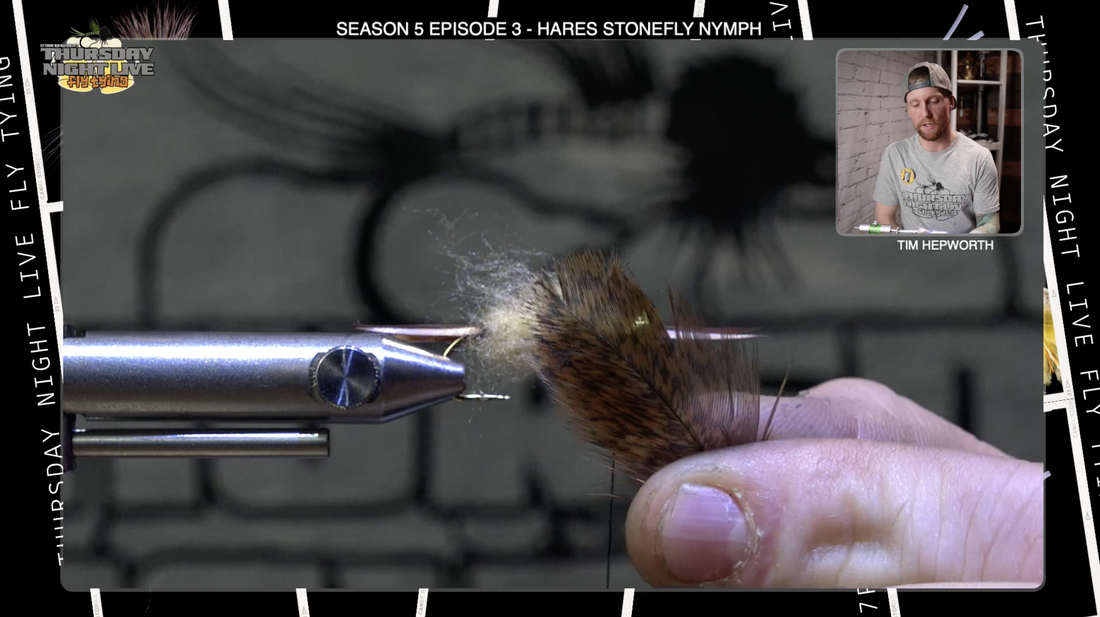
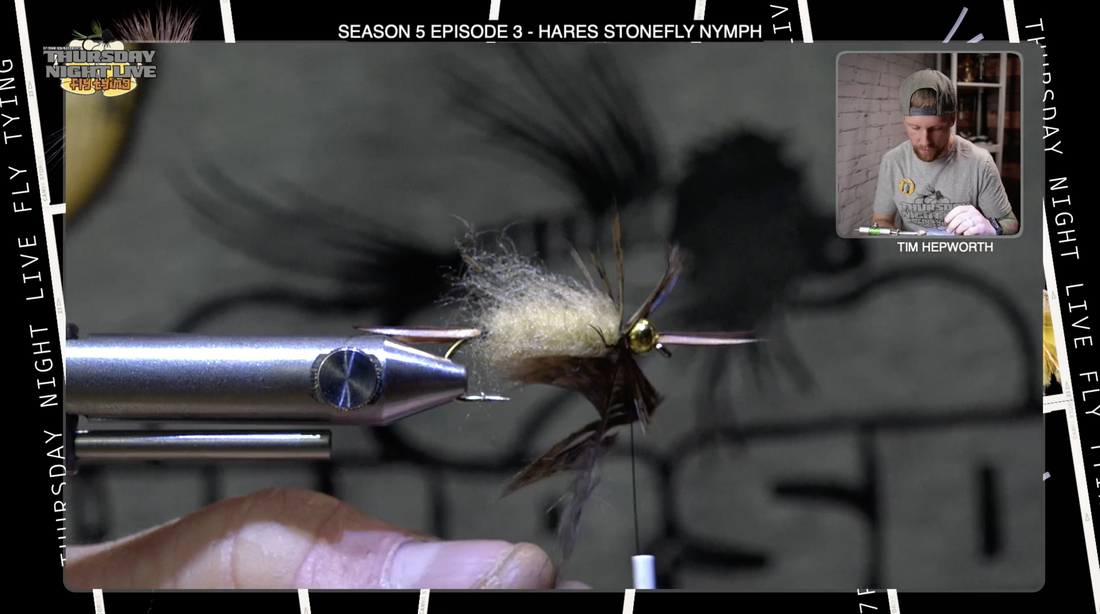
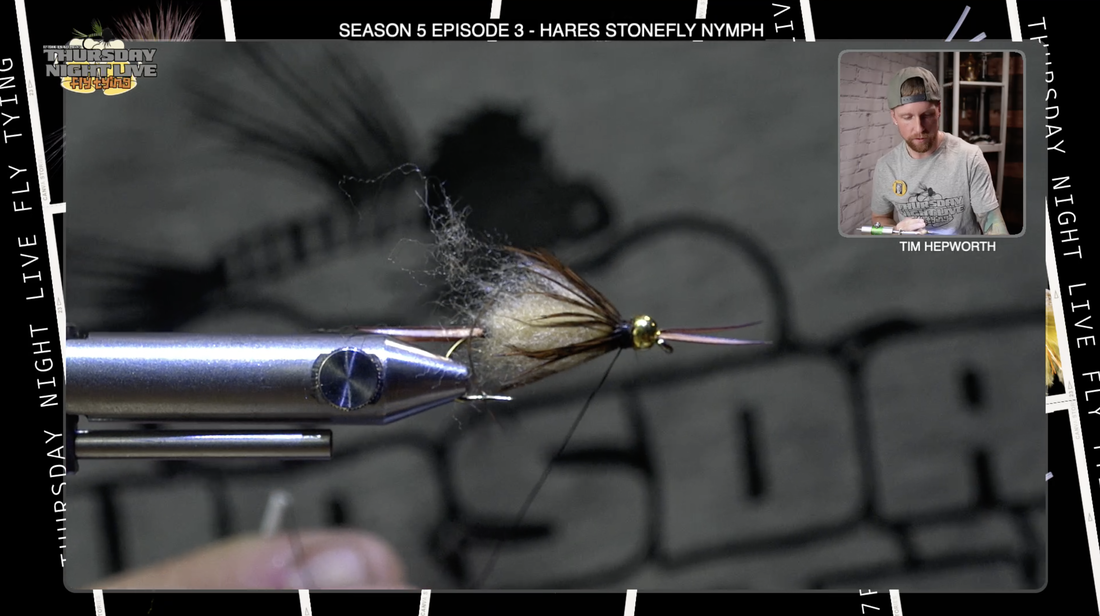
HARES STONEFLY NYMPH Fly Tying Recipe: Hook: #06 Tiemco 5262 Bead: 7/64”-1/8” Gold Bead Thread: Tan UTC 70 Wire: .010”-.015” Lead Wire Tail and Antennae: Brown Goose Biots Body: Golden Brown Hare Wiggle Dub Collar: Natural India Hen Cape Hey everybody. Welcome back to another Quick Tie Blog. My name is Tim Hepworth. I'm here with Fly Fish Fishing Bow River Outfitters. And Thursday Night Live Fly tying. And in this quickie we are gonna be tying, The Hares Stonefly Nymph. All right, real good pattern. We want to thank Rock Mountain Fly Shop for bringing you this quick tie. Remember , it’s free shipping over $99 www.rockymountainflyshop.net I'll be tying out of our kit. This is season five. You can still grab your kit if you head on over to www.flyfishingbowriver.com/tnls5. All right, I think that's all the good stuff. Let's head over to the vice and get ourselves. Go ahead and get that hook in your vice. To start with, we are gonna put this gold bead on size ⅛”. Remember, stick the hook, point into the small, the smallest hole that you can find on there. Get that good and secure. Then we're gonna grab that bead and immediately pull it back outta the way. We got some goose biots to tie in the front and the back to start this fly. So we're actually gonna start our thread up here.We are going to be using a tan UTC 70 for Thread. Take a few thread wraps back for snipping. Cutting that free. Okay, now next material we're gonna tie into some brown,Biots. So go ahead and grab yourself a couple off of the strip. Now, Biots can be frustrating to work with, but if you use a couple of simple techniques, you can make it easier for yourself. So separate those two. I suggest going in and snipping the coarse butts off. So I'm gonna come in here with my scissors. Cut those outta the way. Now you're gonna notice that each biot is curved. We want to have them curved to the outside, so running along the shaft of the hook and curving out. Essentially splayed away from each other. And then we want to pair them back to back. So once you find the angle that they are at, you're gonna stack 'em. So I'm gonna come in here, stack one on top of the other. Okay, we'll even those up. And now we're gonna reverse direction cuz these are gonna go out the front of the fly to start with. Make sure the tips are semi aligned. the most frustrating part in working with biots, is getting 'em to kind of display properly, get 'em lined up, and then get 'em tied in. So now that I've got 'em where I want 'em, they're even, as you can see, I'm gonna lay them so that they hang off the front of the eye. Roughly a quarter inch, somewhere in there. Make sure that thread is right up by the eye. I'm gonna kind of splay them one on either side of the hook Shank. I'm gonna take a gathering wrap, just making sure one's on each side, gathering, wrap, secure that down, and then start taking a few thread wraps back and the put some pressure on it, make sure it's good and tight, so it looks like so. Okay. That's ideally kind of, that's probably one of the best I've ever done. These are not always easy to work with, but once you get the hang of them, not too bad. Let's cover up the butts of those. Now all we're gonna do is go ahead and throw in a half hitch right here. It's gonna save our work and we're actually gonna snip our thread out. I'm gonna bring that bead back and you can see as you push your bead up, it keeps it splayed. Those look like that antenna, that stonefly, but it helps secure and save those butts from ever coming out. Now we're gonna go over, we have some 0.10 lead here. Okay. We're gonna take a series of wraps. I want the wraps to start about at the hook point and go up towards the eye. So I'll start back here. We're just meant to put lots of weight on this. Often we're gonna fish this quite low on the water column, but it is important that I have the thread wraps. Go all the way up, the lead wraps. Go all the way up onto the thread and we can just kind of bring it around so they finish somewhere up by the bead. Somewhere right up behind the bead, you can snip or tear that off. We're gonna make sure that the tag at the back is also brought down towards the hook shank, and that is what we should be left with. Making sure that it's pinched down and pushed up like so. Okay, now we're gonna grab our thread. We're gonna get back to business. With that, we're gonna take a couple of thread wraps here. Just behind that lead. I'm gonna spool that up and my thread had split on me a little bit. And now that we're back here, what I'm gonna do is I'm gonna go ahead and grab two more Biots off your stem. We're gonna tie two in for the back, exactly how we tied 'em in on the front. Okay. Same exact scenario. Split them off. Cut those butts. Stack 'em on top of each other so they splay outwards. Make sure the tips are relatively even again, now I'm gonna come in and try to do the exact same thing about the same distance off. I'm gonna switch hands here and I'm gonna come in here and just cut So these don't go up onto those lead wraps. And then I'm gonna take some thread wraps up over top, securing it to each side of the hook. And before I get too, too aggressive, I just wanna, readjust when you have 'em a little bit loose still. We wanna make sure that they are in fact where I want them to be. And then I can take some more thread wraps back. We don't want to go over the hook bend, we want to cut, basically come to it and just make sure that those are still splaying properly. If you're happy with that. Now I'm gonna take some thread wraps. Making sure that's good and secure. And we're gonna take thread wraps now, right up on top of all that wire, we basically want to cover up those lead wraps with that tan thread, which is just a UTC 70, if I didn't mention that earlier. I'm gonna show you right here, we are gonna doa little dubbing loop . So I like a little bit thicker thread for spinning it. So all I'm doing is putting two fingers on the thread, making a bit of a loop, bringing my thread back to the top, and I'm gonna toss my bobbin over top. Try not to get all tangled up into those biots. I'm gonna cut this thread just to get it out of the way because if you pinch those down, you gotta start all over again. Let's restart my thread. Bring it down , so we're gonna go ahead, like I said, two fingers, toss my bobbin over top once, twice. And then I can wrap that back down just to where I left those biots. And I'm gonna go ahead and grab my dubbing spinner and hook it on. And now, while I'm in here already, I am gonna grab just a little bit of wax. I'll take my other thread forward to the eye. I'm gonna take some of this wax, just a little touch of it. Not going crazy with it. Get that in there. Try not to have any clumps on there Cause that'll just work itself into the material, the dubbing once we put it in. Now that I have it here, I'm just gonna do a little half hitch up here at the bead just to make sure that's locked in place. And now we're gonna go to the dubbing. We're just using this tan. Hares dubbing. Okay, we're gonna brush some of this out as we go, but little dabs of it, we're not grabbing a lot. I'm gonna grab some and pull it apart and stack it on top of itself, and I'm gonna go ahead and set it right in the dubbing loop. That little bit of wax that's in there is gonna kind of hold it in place initially so I don't have to fight with it too much. Now, I'm gonna take a few pinches of this dubbing. We'll probably do that three or four times, get it in there. We kind of wanna spread out this dubbing as much as possible to start with. Again, I can just touch it to that thread and because I have that wax in there, it's holding it in place. And then I can kind of come in here and make sure it's all spread out properly and where I want it. And I'm just gonna go ahead and spin that up. Spin, spin, spin. Gonna let it rope really nice, but if you overspin it, you are gonna end up breaking that thread. So be careful not to do too much. Now I am gonna go in with my brush or my Velcro here, and I'm just gonna pull out just a little bit. I'm not gonna really get aggressive with it. Gonna pull out a little bit of those fibers, just touching that Velcro to it, and then I'm gonna start wrapping forward. Okay? So just touching wraps, going up the fly, and hopefully we're gonna run outta dubbing. With a little bit of space behind the bead. I come in here and I'm gonna secure that dubbing loop by taking your thread wrap behind a thread wrap in front. That's your securing wraps. Do it twice. I know it's not going anywhere now, and I can trim it out. Okay? We're not gonna do anything more with this dubbing right now. We will do a little bit in a moment. So you see I have just a bit of space, uh, behind that bead. And this is where we're gonna come in here with our south soft tackle feather. Okay? Got a whole range of colors and soft hackles you could use. This one's a dark brown with almost a chocolate colored flex in it. What I'm gonna do is I'm gonna come in here, I'm gonna pull down, exposing a little triangle. Right at the peak, and that's what I'm gonna tie in. I want to tie it in with the underside of the feather pointed back down the fly. get that secure thread wrap a couple times on one side, a couple on the other, repeat, and then we can trim out that stem before we start wrapping so we don't get it caught up in what we're doing. Really wanna make sure that's secure and it's not going anywhere. Now we're not gonna overdo it. You can take a ton of wraps of this stuff, but it'll just bulk up all of that at the front of the fly. We definitely need one full wrap. We're gonna try to not get caught up on itself, so you don't wanna wrap it on top of itself. Gonna bring it all the way back around and I'll bring my thread up and through it. Try not to trap any of it. Thread wrap behind, thread wrap in front, and don't worry if you've caught some of it, we can work with that in a moment. I'm gonna come in here and trim out my stem again. Make sure you secure that quite well. I'm gonna pull all that material back and I'm gonna take a few thread wraps. Okay. It's almost creating a bit of a dam, forcing all of those Fibers to go back down the fly. Like so has this appearance of a hare's ear nymph. That's why it is called the hares stonefly. I'm now gonna come in here. I'm gonna take a half hitch first just to secure that spot. I'm just gonna go ahead and find your whip finish tool. We'll do what one whip finish here and we'll touch it with some solarez uv resin. Trim that out. I'm gonna grab just a little bit of this bone dry from Solarez UV resin. Just put a drop on the thread wraps. It'll start to soak in. I'm gonna hit that with my uv light, so it cures Really quick, I'm gonna do a little bit of a brush and then we're gonna be finished with this fly. Gonna go back to my Velcro brush here. It's gonna take a little bit of poles back down the fly, and just like that guys. You have your hares stonefly nymph. Great little nymph to keep in the box. Keep it in a few sizes. Pretty much guarantee you you're gonna catch something on that. Thank you for showing up to this quick tie blog. We wanna say a big thank you to Rocky Mountain Fly Shot for bringing it to you tonight. AuthorTim Hepworth @timhepworth |
 RSS Feed