|
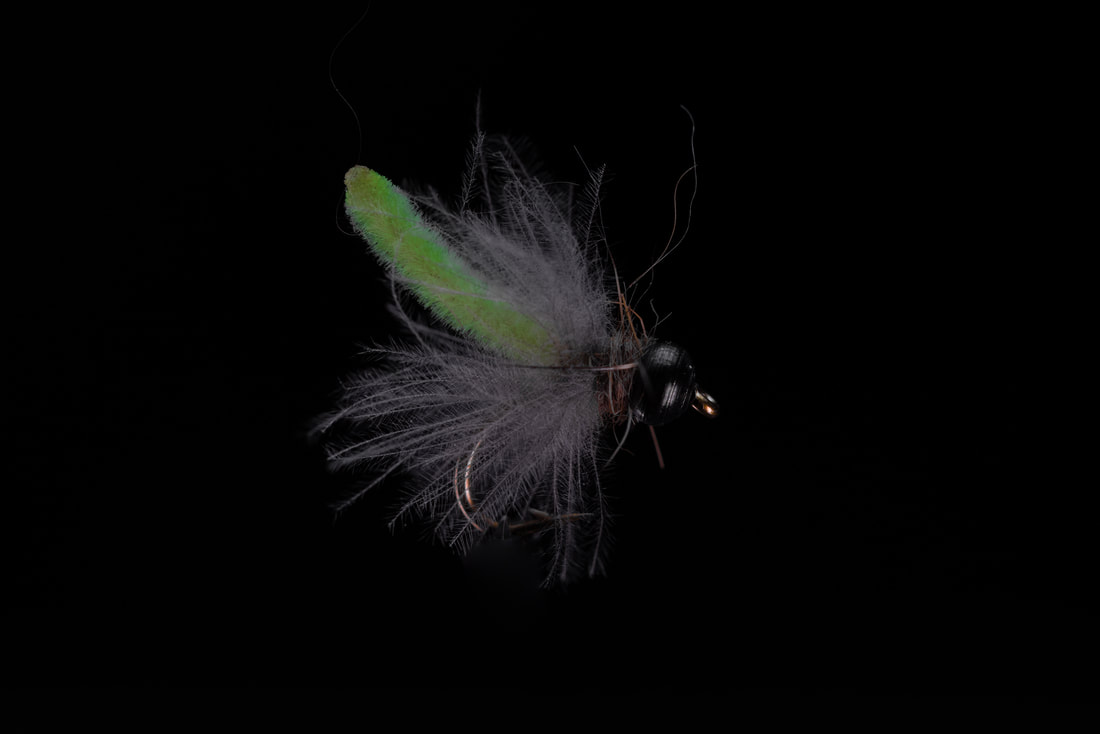
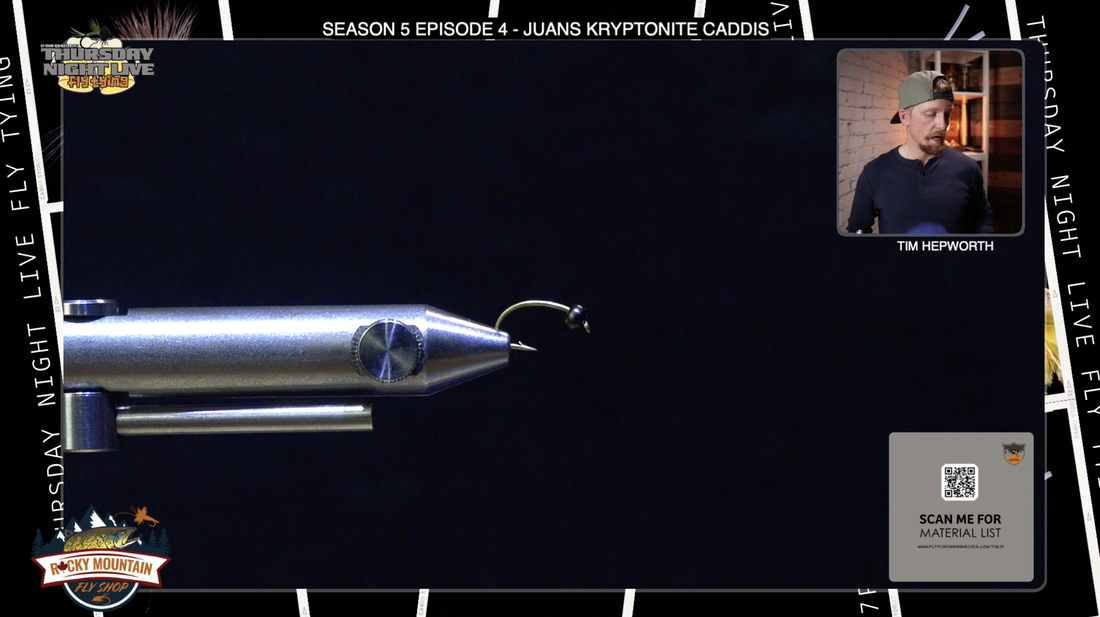
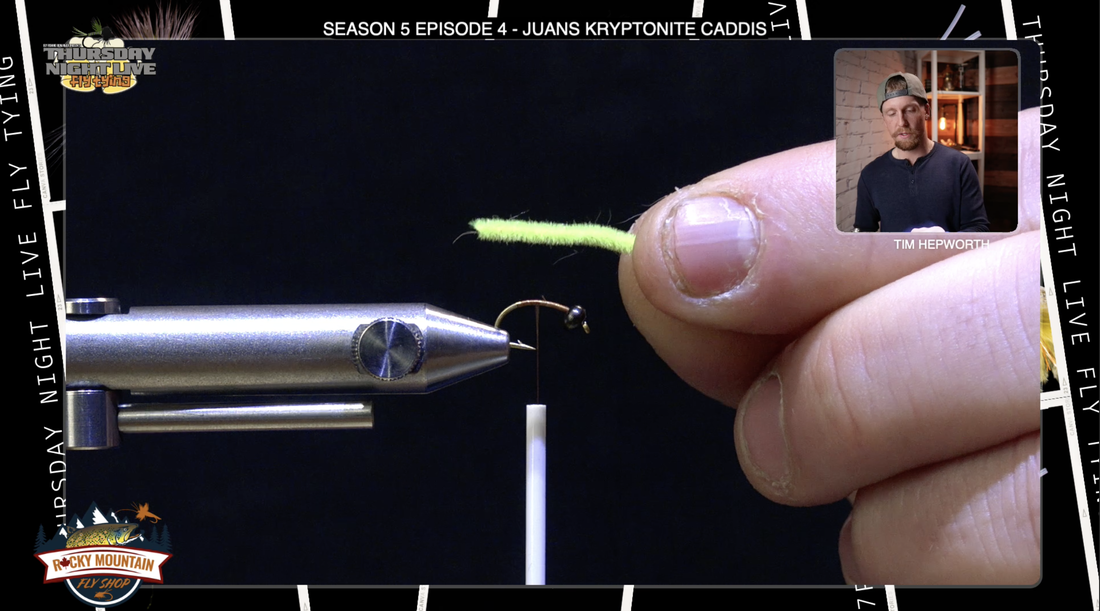
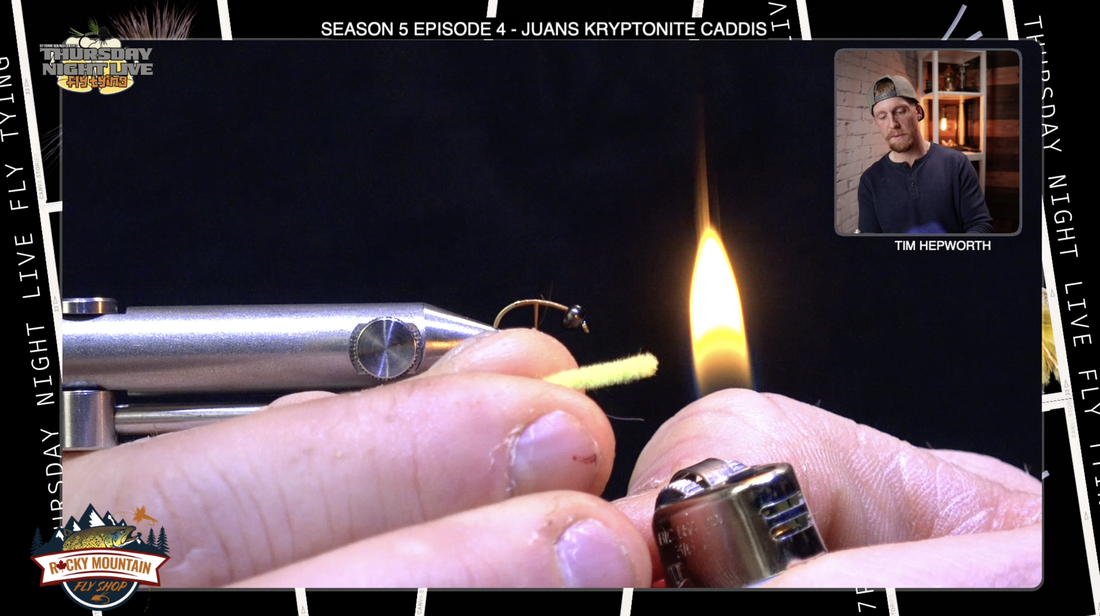
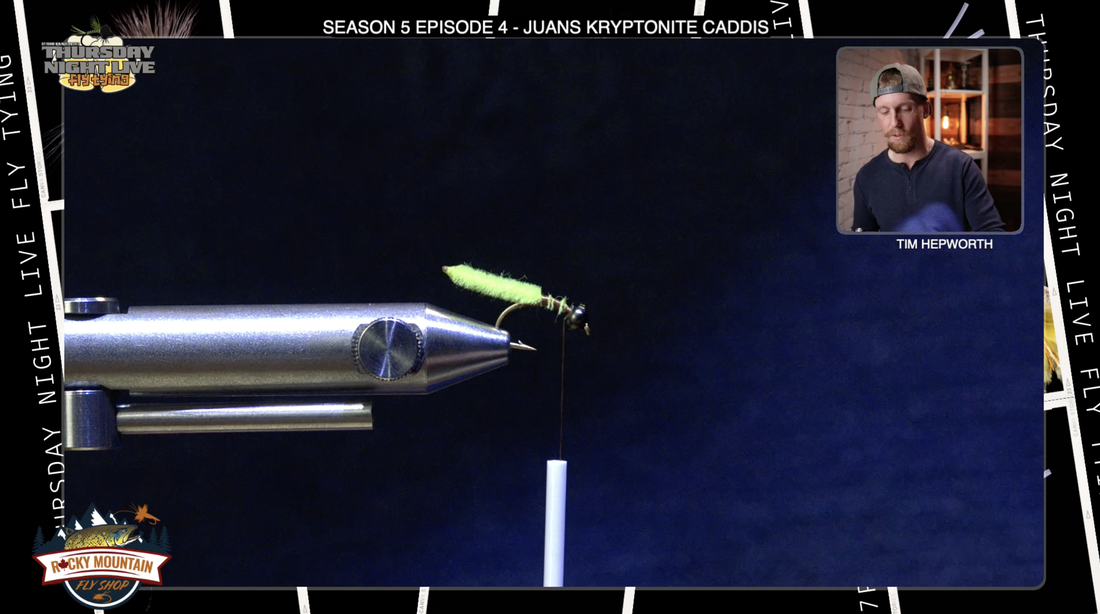
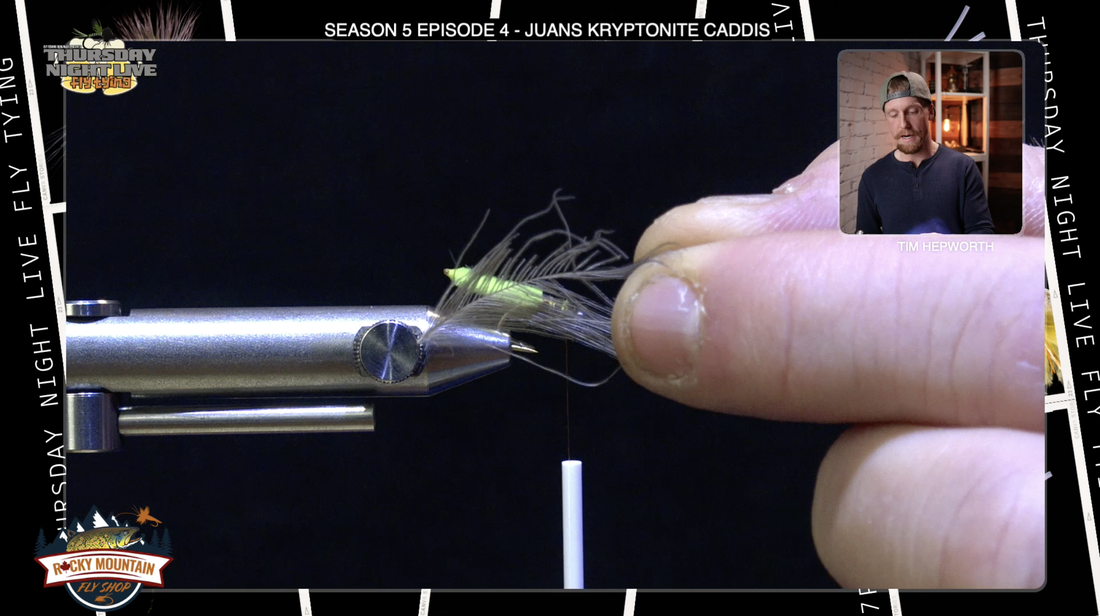
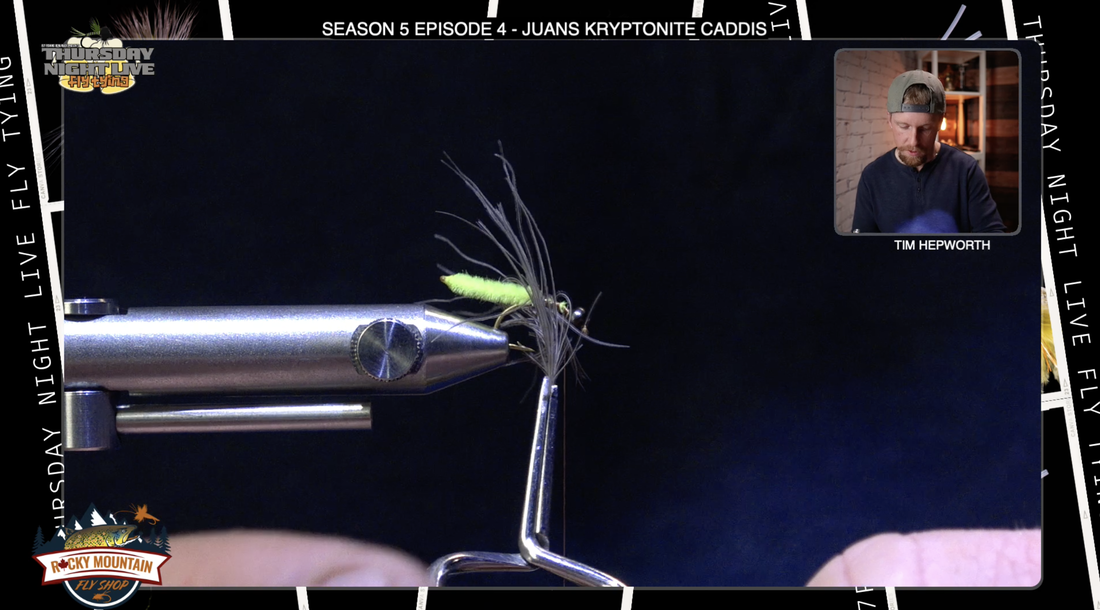
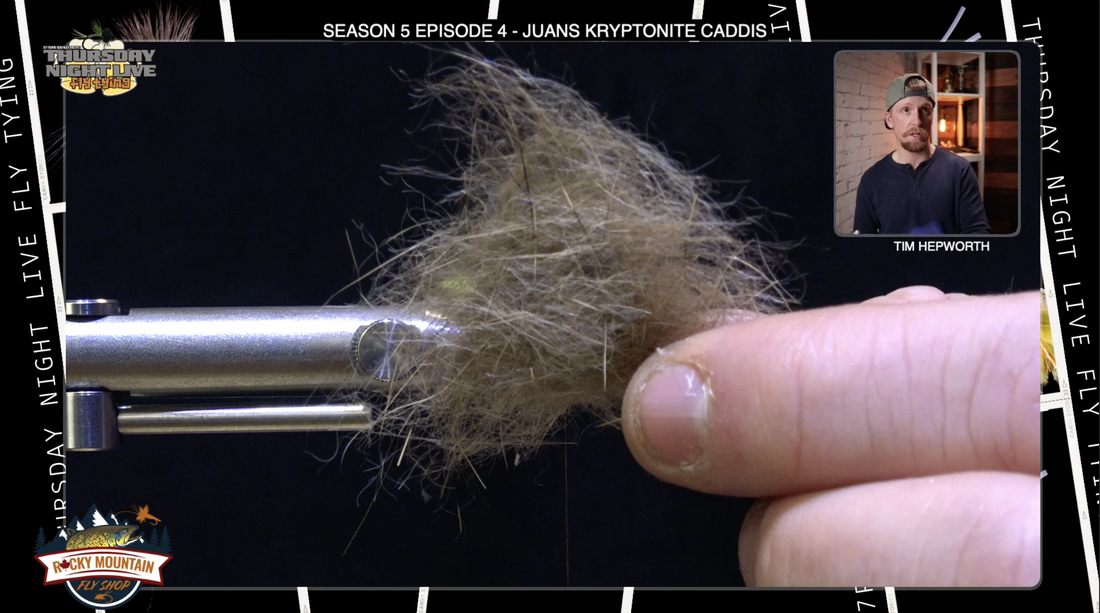
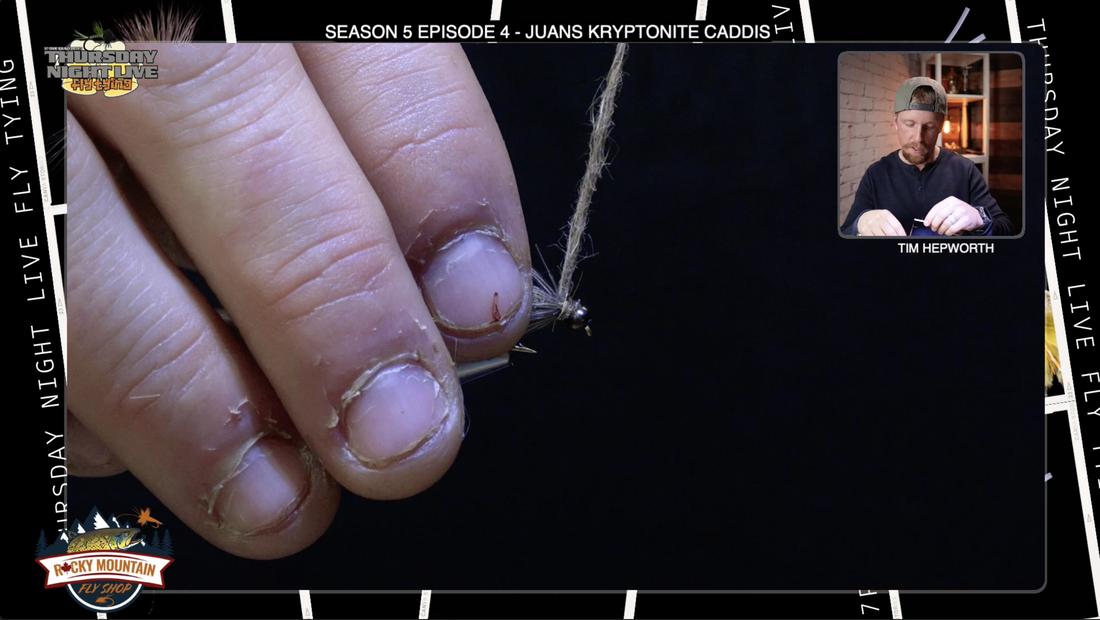
JUANS KRYPTONITE CADDIS Fly Tying Recipe: Hook: #14 Daiichi 1120 Bead: 5/64”-7/64” Black Tungsten Bead Thread: Tan or Brown Vevuus 8/0 or 10/0 Body: 15LB Green Amnesia Running Line Collar1: Natural or Olive Brown CDC Collar2: Hareline Natural Hare’s Ear Dubbing Hey everybody, this is Tim Hepworth again here with Fly Fishing Bow River Outfitters and Thursday Night Live Fly tying. And I'm here to bring you another quick tie blog. We are going to be tying the Juans Kryptonite Caddis. We want to thank Rocky Mountain Fly Shop for bringing you this quick tie today. Remember you can get FREE Shipping on all orders over $99 over a www.rockymountainflyshop.net. I'm gonna be tying out my Season five kit. If you want to still grab one of these things, you can sure do it.www.flyfishingbowriver.com/tnls5. You can also follow along with the material list at the top of the page, or purchase the Juans Kryptonite Caddis Material kit ( link above) To get started, We're gonna grab our size 14 Daichi 1120 hook. we're gonna get that black bead from your kit affixed to your hook. Okay? I'm gonna come in here and get it put into my vice. Good and secure I'm gonna be tying with some brown colored UTC 70 today. Okay. Something a little bit thinner. Could go black, could go olive. Doesn't really matter. We're not really seeing the thread on this fly. Just something a little bit smaller. I'm gonna come in here and start my thread just behind the bead. I'm gonna go ahead and snip out the tag. Now I'm gonna take some thread wraps, all the way back just to the edge of that bend where the barb is. But then I'm gonna come and bring my thread back. Okay. I'm gonna bring it. So it's sitting about at that halfway point on the hook. Okay, I'm gonna leave it right there. I'm gonna go over and grab the first material we're gonna be working with. This is gonna be the body of the caddis, this nice kind of minty colored, green soft looking body. Now the original pattern calls for 15lb fluorescent green amnesia. We're gonna build it out of some chenille on this tie. So to protect the Chenille and to make sure that it's not gonna erode or come apart or anything like that, we're just gonna grab a little lighter. Okay? And we're just gonna burn just at the very end. Have you ever worked with this type of chenille before? It also creates a nice little point , it points out the body, makes it even look a little bit more realistic. We use this method on worms a lot. Okay? So when I come in here to tie this in, The length that I'm looking for is overall, if I take the length of the hook right there, okay. By bracing off the front of the eye, and then I transitioned that to the portion where I'm gonna tie in at the middle. Basically find the length of the hook, tie in that much hanging out the back. Set that right there. That creates the length that we want. I'm gonna switch hands. Do a gathering wrap for that chenille, I wanna keep it right up on top of the hook. Okay? Take a couple thread wraps. Check my length. I like it. It's where I want it to be. Take a couple thread wraps forward and I can go in there and I can snip out the rest of that chenille, just make sure you're cutting the right end and then finish securing the underside of it. Take some thread wraps all the way to the bead. So that's where we're left with for now. Okay, only two more materials to put into this one, but this next one might be something you haven't worked with before. CDC Feathers. Okay. This comes for lack of better words, it comes from a duck's butt. This is a very movable basically fibers on this feather, but they're delicate, hard to work with at times. We're gonna tie it in at the tip of the stem and then we're gonna try to work this forward. Palmer it forward. You're gonna see there's a differing length. Some of 'em are long, some are short. I'm gonna break some off cause I want a certain length. I don't want this to be super, super long. Stroke these back so they're outta the way so I can expose just the very. And I'm gonna bring my thread back to where I tied in that Chanel and I'm gonna tie in that stem right there. Now you have a couple, you should have quite a few of these in your kit. So that way if this one breaks, cuz sometimes they do break and it, who knows? It could happen to me as well. If they break, we can always tie in another one. Okay? So just wanna make sure we get that stem really locked in. We can worry about the stem in a second. And now I am gonna go grab some hackle pliers just because this is very delicate and the stem is quite small and I'm gonna grab on to it. Don't tug too hard, or you definitely could break this. And now we're just gonna work on palming this forward. And I have some nice open wraps, so I wanna make sure I don't trap any of those cuz every single one of those little fibers is important. I'm just gonna palmer that forward towards the eye of the hook and when I run out of feather. Try to make as many wraps as you can as you go or back down the fly, using up just about all of that feather that we can. But you're gonna realize if you pull too hard at any point, you are either gonna break the stem or you're gonna slip off your hackle pliers. And I'm gonna come in, take a securing wrap behind the securing wrap in front. Okay. So I should be good and secure there. I can go ahead and trim out the edge of that stem like so now you can see I have all these differing lengths here, but before I do anything else, I just wanna take a few more securing wraps right behind that bead and back a little ways, making sure I got that stem firmly. And now I'm gonna push all these fibers back with my fingers and grab that tail in at the same time. So you can see I got a measurement going right here. And all of these that are out beyond, I'm just gonna grab and pull. Okay. They break, they're quite brittle. I'm gonna pinch them a little bit. So I get the desired length that I want of the CDC feathers. You can see there, I didn't want them to extend too far beyond the back of that body portion. So I just went in there and I went a little bit more off those ones just pinch and. Just like that. Okay, now we've only got one material left and it's a real simple one. We're gonna grab this beautiful hares ear dubbing. I love this stuff. It's literally as natural as you get. We haven't changed the color, nothing. It's got all those guard hairs in it, which we're gonna utilize here in a moment as well. Just separate it once so you can see some of those guard hairs. And then grab a little pinch that's got a decent clump of guard hair in it. Okay? Something like this. Switch my hands over and I'm gonna make a dubbing noodle. Okay, so I'm just gonna spin that. Remember moving my fingers always in the same direction like that, spinning that, just a short piece, inch and a half long or so. And I'm gonna start my thread right where I left it, where I left that CDC. And I don't, I'm not gonna put a ton of pressure on these wraps and I'm just gonna move forward once I've used it all up. I have a little bit of extra, that's totally fine. I'll pull that off. It comes off easy. And then a couple thread wraps just behind the bead. I'm gonna go ahead and whip finish this off where it is. Do one more whip. I'm not gonna worry about resin on this guy. I don't wanna mess up all that nice dubbing we just put in there. I'm gonna trim this outta the way and then I'm just gonna do a little bit of work with a dubbing brush, also known as my Velcro, and I'm just gonna, That dubbing just a little bit rearward. And what it should do is it should blend in, come off just a little bit. Don't get too vigorous with it. We don't wanna pull it all out. Just blend that a little bit. Gives us this beautiful looking fly. The Juan’s Kryptonite Caddis, you're gonna want to try this one out a few times. Try some different sizes. This is the number 14, probably our most common size that we're gonna attack with. You can try a different color of the body, even go with a brown or a tan but definitely a great pattern. All right, everybody. Again, this is Tim Hepworth here with Fly Fishing Bow River Outfitters and Thursday Night Live fly tying. Thanks again to Rocky Mountain Fly Shop for bringing this quick tie, and we will see you next week. AuthorTim Hepworth @timothyhepworth |
 RSS Feed